Upgrading vRealize Automation 6.1 (formally vCAC) to 6.2
In a previous post, we created a Windows Server repository for updates. This repository will serve to upgrade both the Identity Appliance and vRA Appliance(s). Before upgrading we need to ensure backups are in place. I know I’m preaching to the choir, but still need to stress the importance. We are not short of ways to backup the environment using VM snapshots (temporarily) and vSphere data protection to name a few. For SQL using a maintenance plan is also an option. The success of the upgrade relies on following the correct order. The steps below follow a simple deployment model but I will try to add areas where a distributed model differs.
Upgrade Steps
- Backup Identity Appliance, vRA Appliance(s), IaaS database, and IaaS server(s).
- Stop vRA Appliance(s) Services.
- Stop IaaS Server(s) services.
- Identity Appliance Upgrade.
- vRA Appliance Upgrade.
- IaaS Database Upgrade.
- IaaS Upgrade.
Prerequisites
- Log in the vRA Appliance(s) via SSH or VM console and disable the vco-service running the following commands: service vco-server stop & chkconfig vco-server off.
- The following services also need to be stopped on all vRA Appliances:
- service vcac-server stop
- service apache2 stop
- service rabbitmq-server stop
- Check the services have been stopped use the status command, ex: service vco-server status.
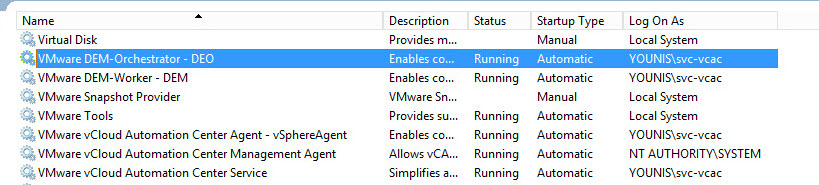
- Shutdown the following services on the IaaS server ( make sure services are stopped on all servers in a distributed model):
- All VMware vCloud Automation Center agents
- All VMware DEM workers
- VMware DEM orchestrator
- VMware vCloud Automation Cneter Manager Service
Note: Do not reboot any of the servers or start the services until the upgrade process is complete.
Appliance(s) Upgrade
Update the Identity appliance followed by the vRA Appliance. The upgrade procedure is similar for both appliances.
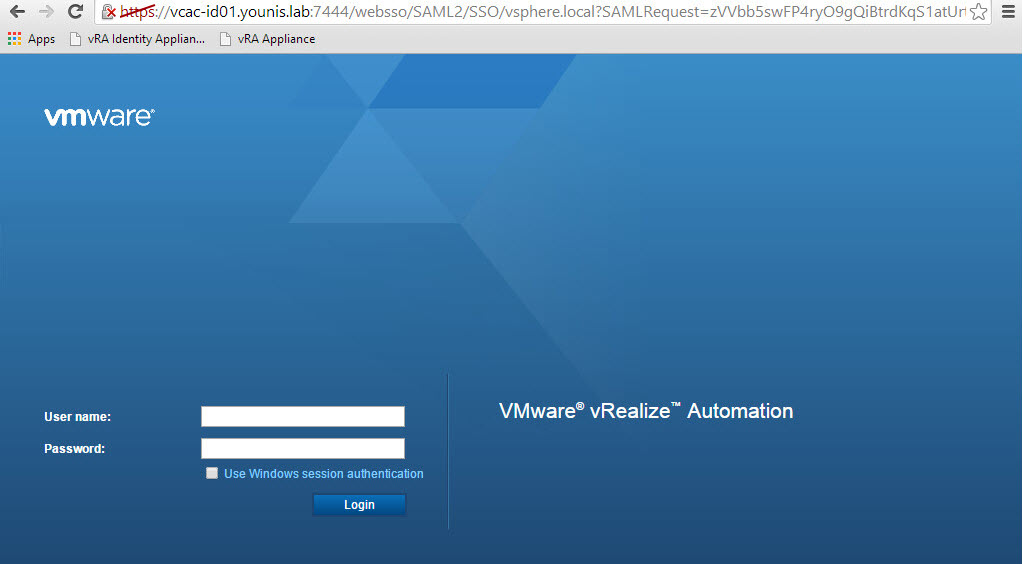
- Log in the appliance(s).
- Identity Appliance: https://Identity Appliance FQDN:5480.
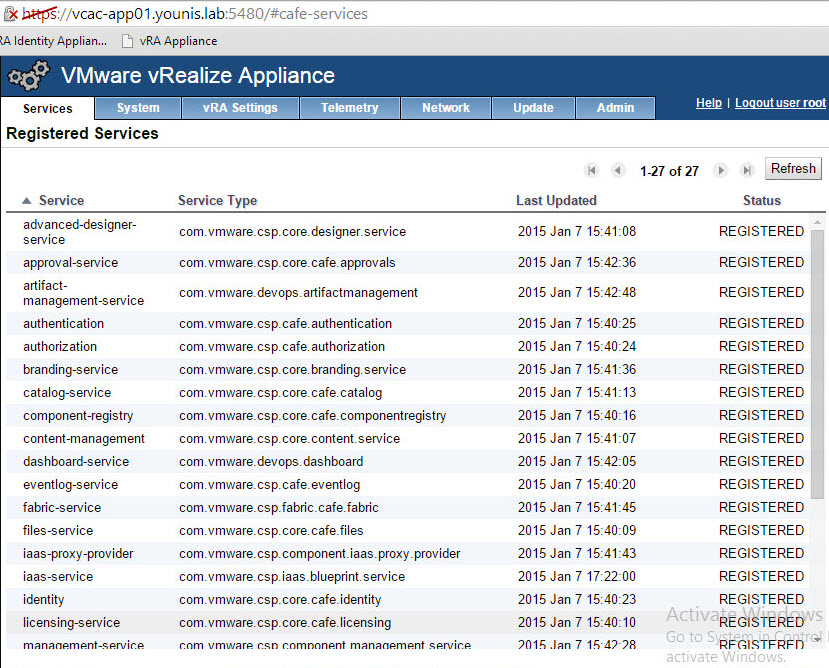
- vRA Appliance: https://vRA Appliance FQDN:5480.
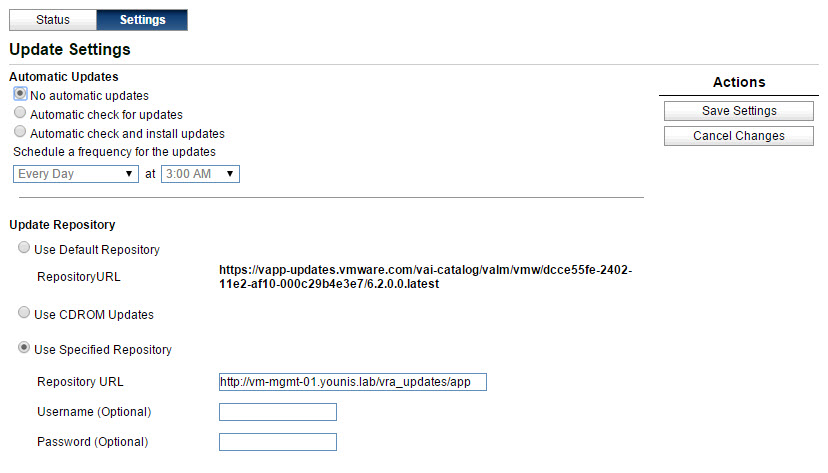
- Select the Update tab, then click settings.
- Ensure to select a repository type, in this case I’m using a specified repository.

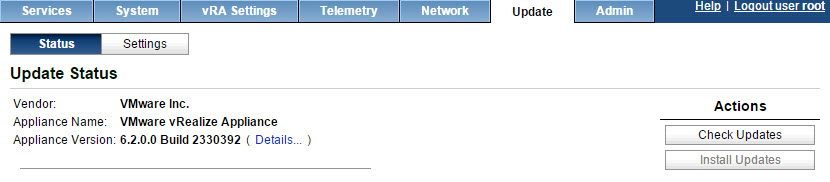
- Save settings and click status.
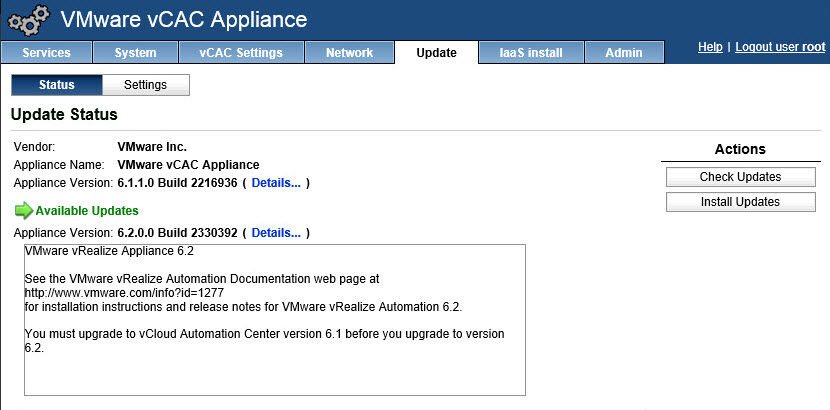
- Click Check Updates and then Install Updates. Wait patiently until updates are applied.


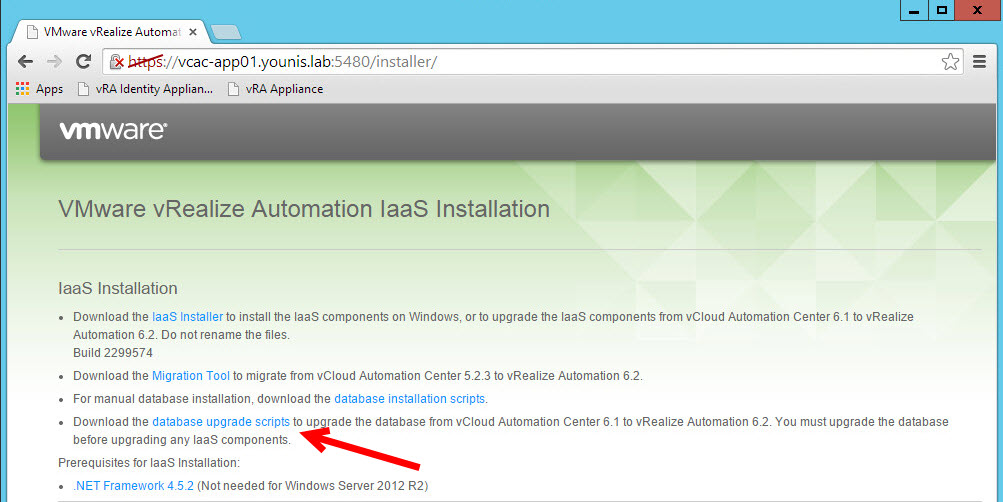
IaaS Upgrade
- Navigate to https://vRA Appliance FQDN:5480/i or installer.
- Download the database upgrade scripts.

- Extract the DBUpgrade.zip.
- Open a command prompt with Administrator privileges and navigate to the DBUgrade directory.
- Run the DBUpgrade.exe command using the switches below:
- -S SQL instance, port if needed
- -d DBname
- -E Windows Authentication or -U SQL login
- -l upgrade log – default is DBUpgrade directory

Note: VMware’s documentation states to run this command only once, make sure a DB backup is taken prior to upgrade. - Download the IaaS installer from the vRA Appliance (step 1) and don’t change the file name.
- Run the installer with Administrator privileges.
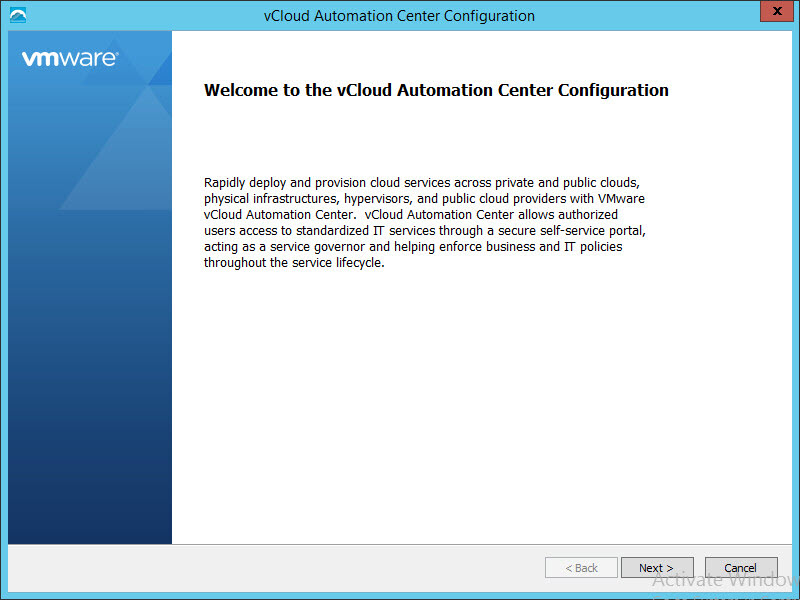
- Click Next on the Welcome to the vCloud Automation Center Configuration screen.
- Accept the EULA, click Next.
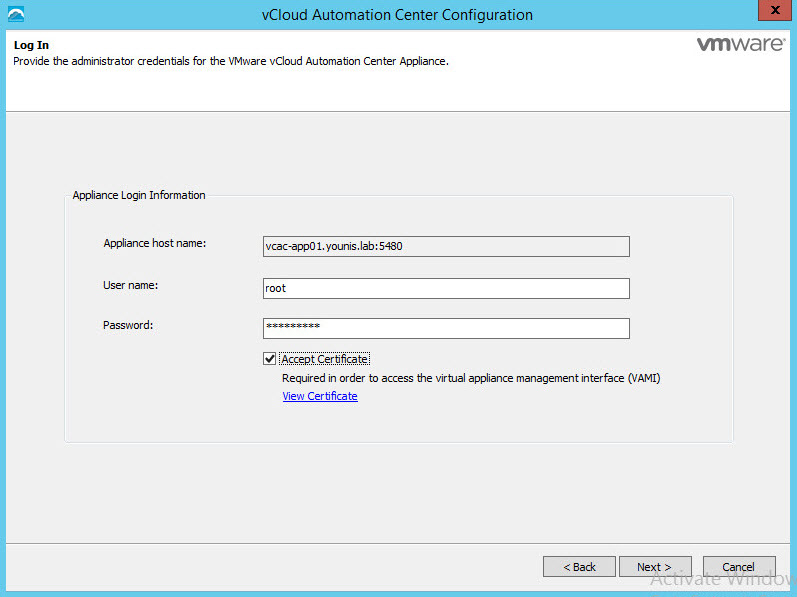
- Enter the vRA Appliance root account and password, check Accept Certificate and click Next.

- Select Upgrade and click Next.

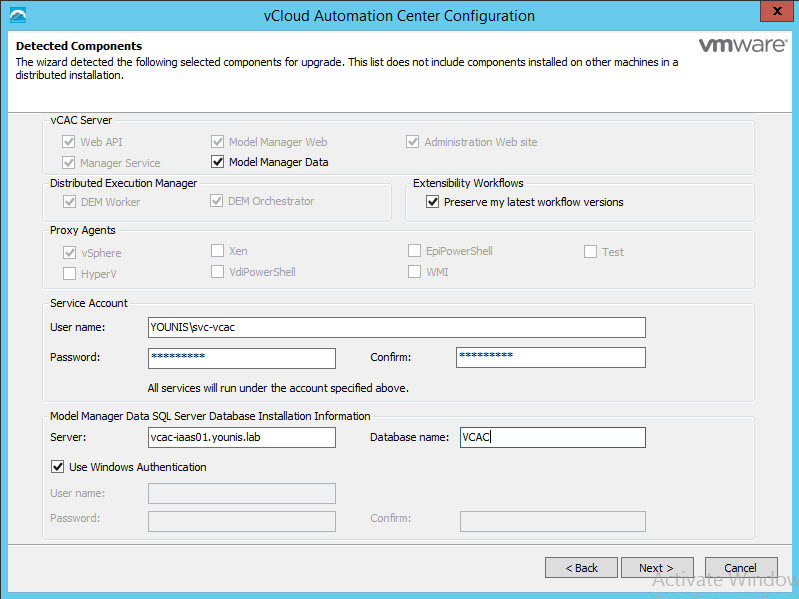
- Select the components to upgrade (my setup has all components on the same server). Verify service account information and add database information. Click Next.
Note: In a distributed model the following upgrade order must be used:- Websites
- Manager Services
- DEM orchestrator and workers
- Agents
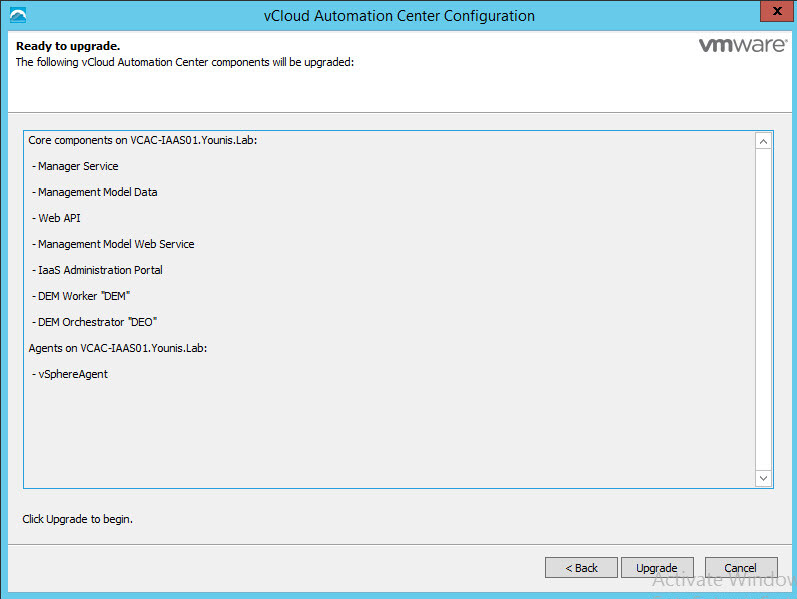
- Confirm all components are listed and click Upgrade.
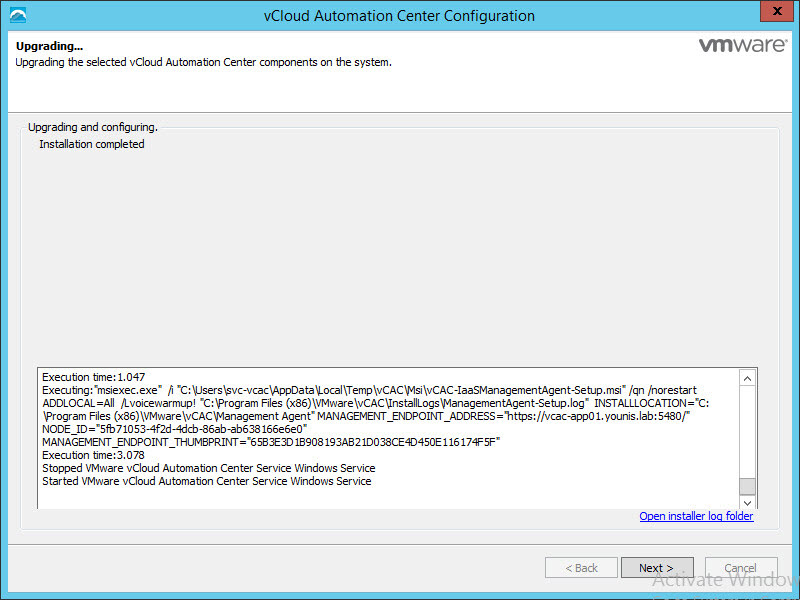
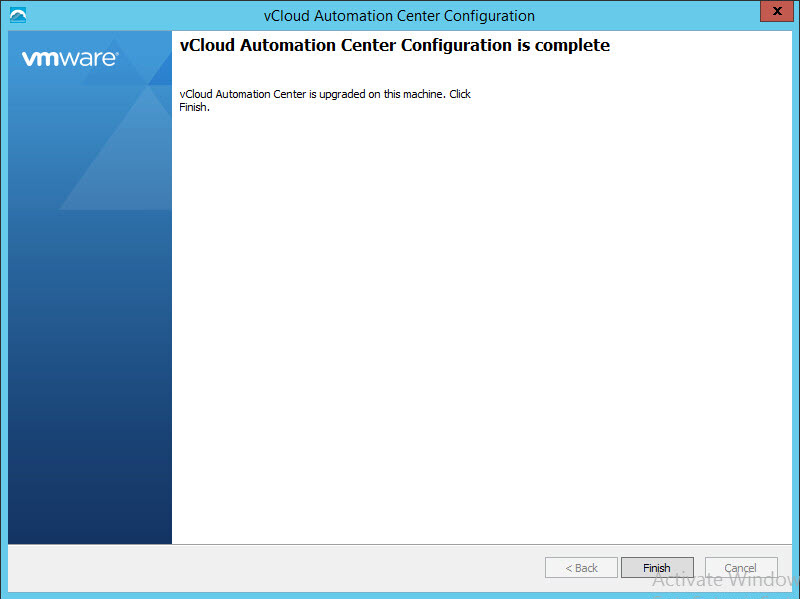
- Once the upgrade is complete click Next.
- vRA upgrade is now complete, click Finish.
- Verify all required services are started on vRA Appliance(s) and IaaS Server(s).


vRA Branding
While this step is optional, it allows the product to display the new branding that marketing has bestowed upon us.
- Log in the vRA Appliance https://vRA Appliance FQDN:5480.
- Select the Setting tab and click the SSO tab.
- Enter SSO setting and check Apply Branding then save settings.


There you have it from start to finish, the upgrade process is really not that difficult once all the steps are followed in order. You can now delete those temporary snapshots 🙂