vRealize Automation 6.1 (formally vCAC) – IaaS Install
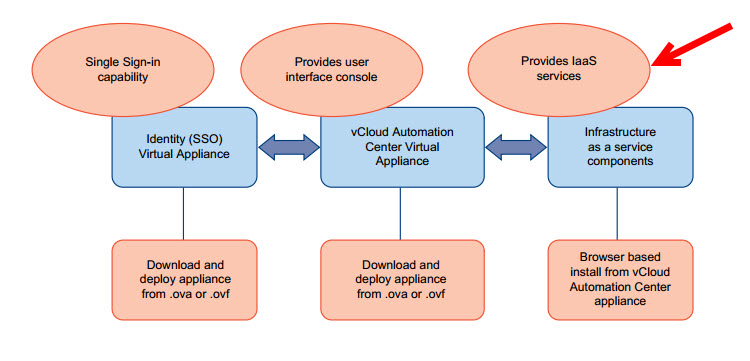
IaaS is the component that allows the creation of blueprints and provisioning to endpoints. It also handles machine life cycle, governance, and decommissioning to name a few. IaaS also has some muscle behind it in regards to extensibility. Before getting too far in this discussion, let’s go through the IaaS installation process.
IaaS Server Requirements
- Windows Server 2008 R2 SP1 / Windows Server 2012 R2
- Microsoft .NET Framework 4.5.1
- PowerShell version 2.0 or 3.0
- Microsoft IIS 7.5
- Java (64-bit) 1.7 or later (32-bit version of Java is not supported)
- vRA service account
IaaS Server Prep
- Add the vRA service account to the IaaS server’s local administrators group.
- Select Local Security Policy under Tools from the Server Manager.
- Expand Local Policies and select User Rights Assignment.
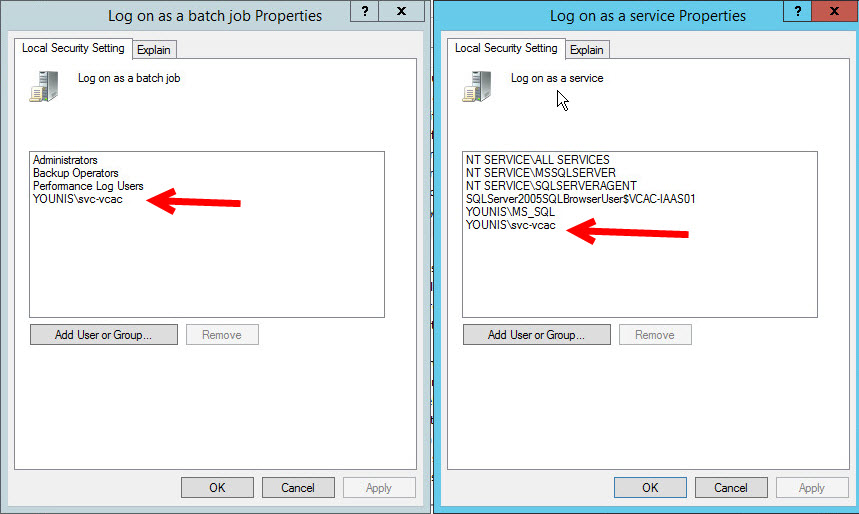
- Add the vRA service account to the following policies:
- Log on as a batch job
- Log on as a service
- Open Component Services, Start –> run –> dcomcnfg or Start –> Administrative Tools –> Component Services.
- Expand Component Services –> Computers –> My Computer –> Distributed Transaction Coordinator (MSDTC).
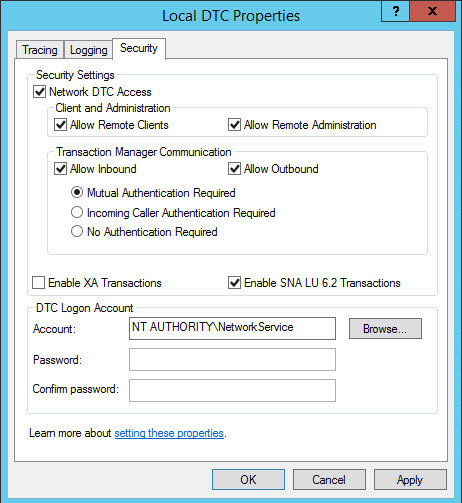
- Right click the Local DTC and select Properties. Under the security tab check Network DTC Access, Allow Remote Clients, Allow Remote Administration, Allow Inbound and Allow Outbound under Transaction Manager Communication.

- Click OK and allow the service to be restarted.
- Open Services and change the Secondary Logon service to automatic.
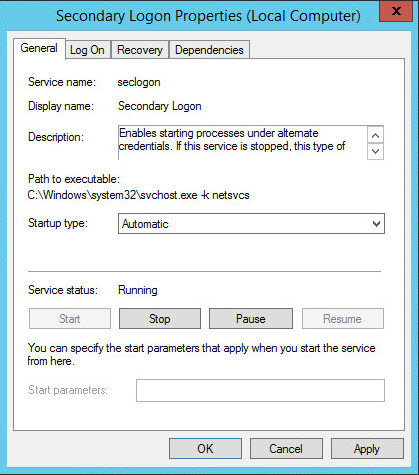
- Start the Secondary Logon service.
- Add the IIS Web Server Role.
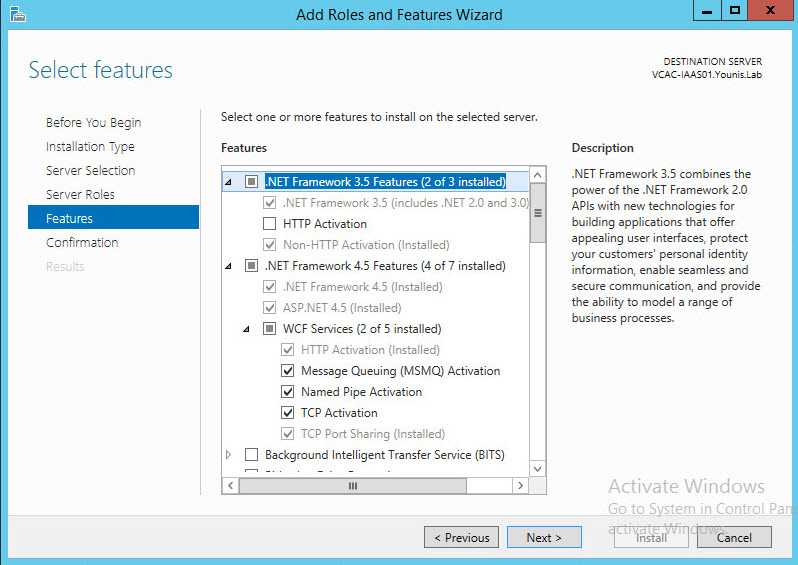
- Add the following Features:
- NET Framework 3.5 Feature with Non-HTTP Activation.
- NET Framework 4.5 Feature & WCF Services.
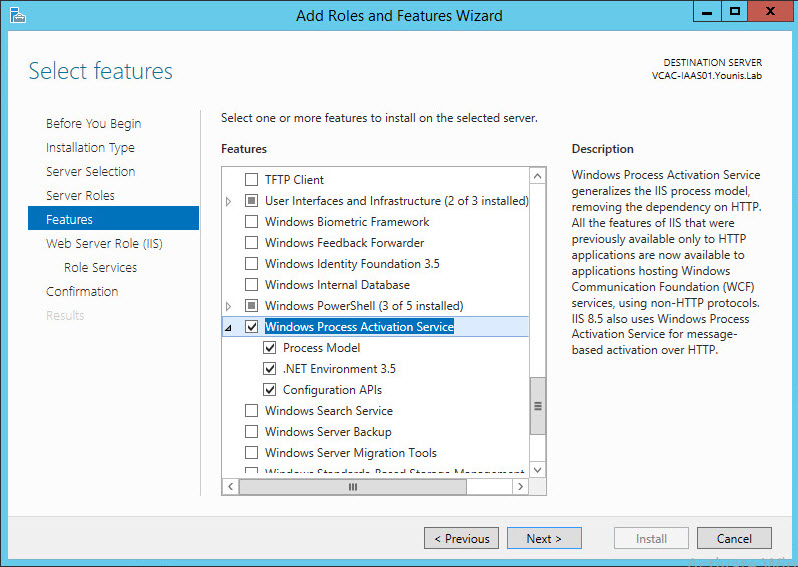
- Windows Process Activation Service – All.
- Under Role services add the following:
- expand Security and select Windows Authentication.
- expand Application Development and select ASP, ASP.NET 3.5, ASP.NET4.5.
- Install the selected roles and features.


IIS Configuration
- Open IIS Manager.
- Navigate to the Default Web Site.

- Under IIS select Authentication making the following changes:
- Disable Anonymous Authentication.
- Enable Windows Authentication.
- Click Advanced Settings, disable Enable Kernel-mode authentication and then click OK.
- Click Providers, remove Negotiate and NTLM and click OK.
- Click Advanced Settings, check Enable Kernel-mode authentication and then click OK.
- Click Providers, add Negotiate and NTLM and click OK.
- Close IIS Manager.

Java Configuration
- Download a 64-bit version of Java 1.7 or later ( using version 7 Update 71 in my lab).
- Install Java.
- Go to Control Panel –> System –> Advance system settings –> Advanced Tab –> Environment Variables.
- Create a new Environment Variable called JAVA_HOME.
- Variable value is the installation path of the Java bin directory “C:\Program Files\Java\jre7\”.
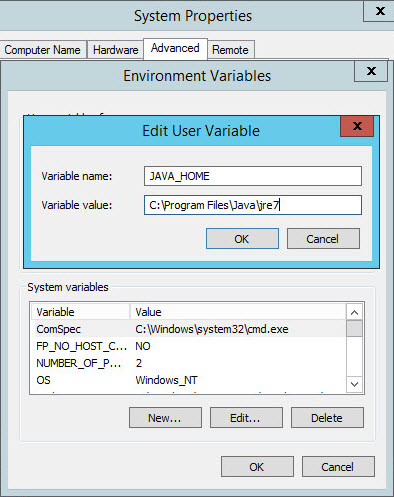
Note: variable name must all be in Caps.

Prerequisites Script
After going through all that you must be thinking, there has to be an easier way to do this. Well there is, thanks to Brian Graf. His prereq script goes through this process saving time and less room for error. It’s always good to go through the manual process at least once. It helps understand the process and good for troubleshooting.

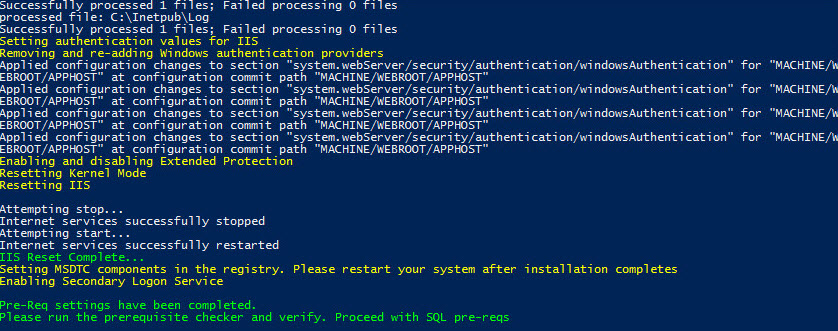
http://blogs.vmware.com/PowerCLI/2014/09/vcac-6-1-pre-req-automation-script-released.html
IaaS Install
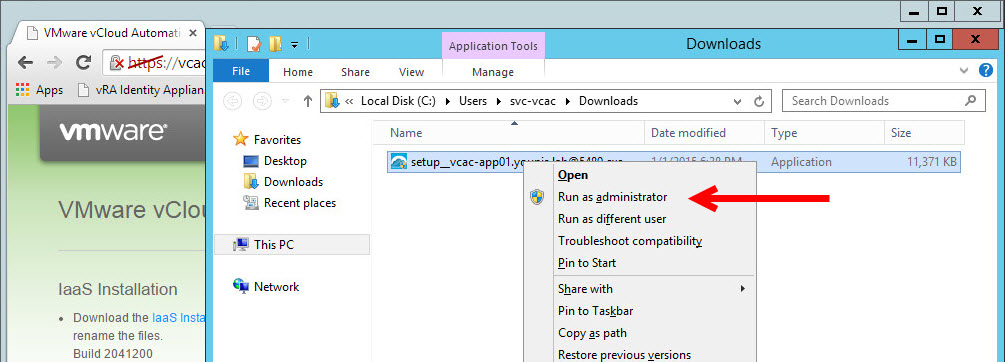
- Navigate to https://vRA Appliance FQDN:5480/i
- Download the IaaS installer
Note: Don’t rename the installer file, it is tied to the vRA appliance. - Right-click the IaaS Installer and run it as Administrator

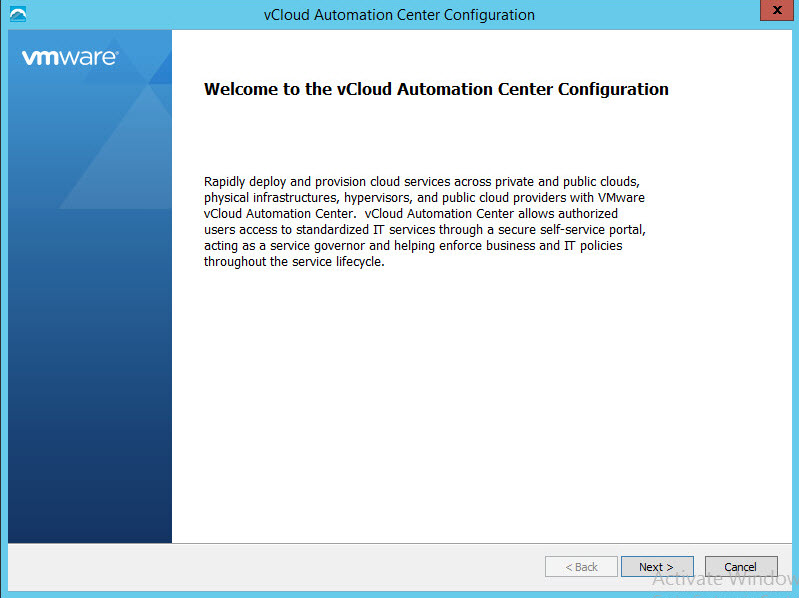
- Click Next on the Welcome to the vCloud Automation Center Configuration screen.

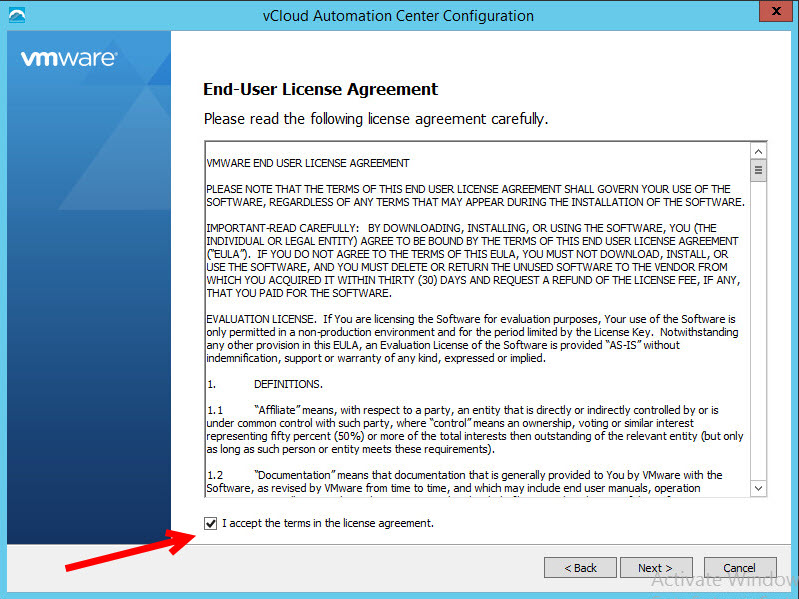
- Accept the EULA and click Next.
- Use the vRA Appliance root account and password and click Next.
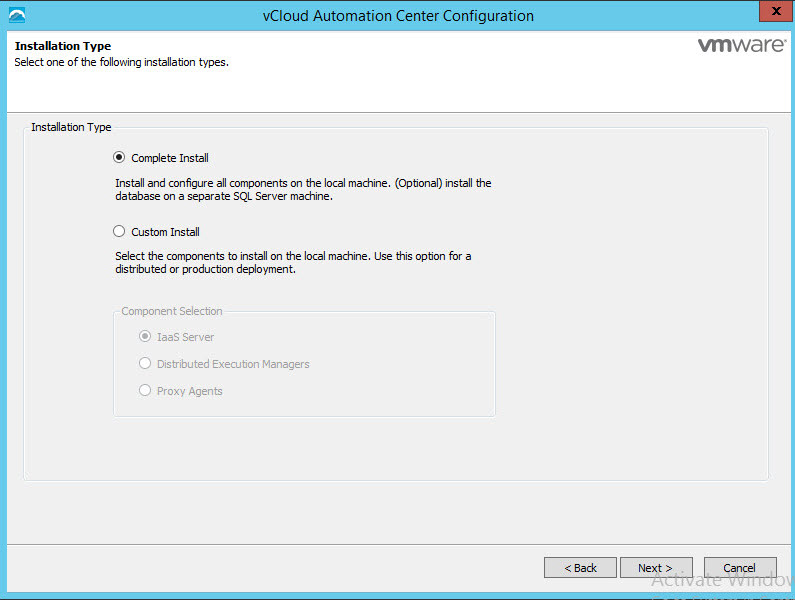
- Select installation type complete since this is a lab setup.

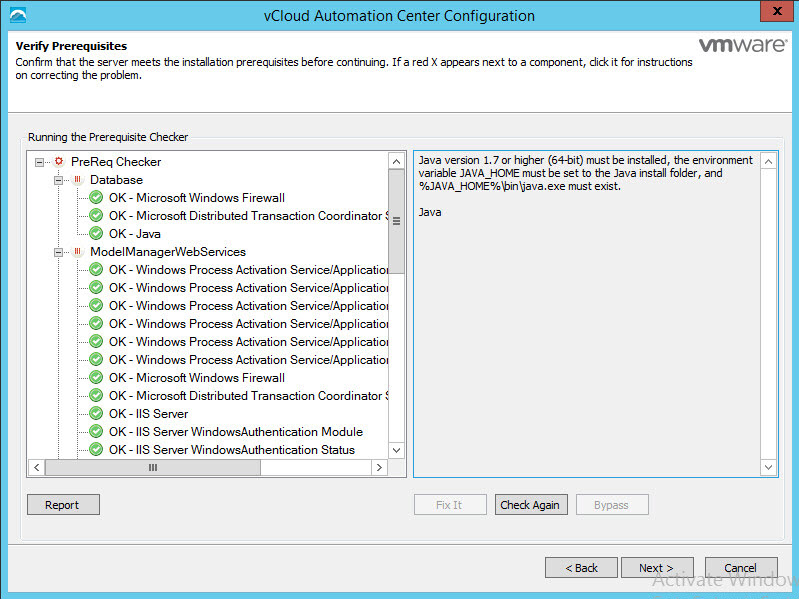
- Verify Prerequisites, click Next.

Note: If any component(s) doesn’t pass PreReq checker, click that item and view instructions to configure correctly. Then click Check Again to verify component(s) have passed. - Enter the service account password and passphrase. Since we are already logged in with the service account it has pre-populated the username for us.
- Enter Microsoft SQL Server Database Install Information, click Next.
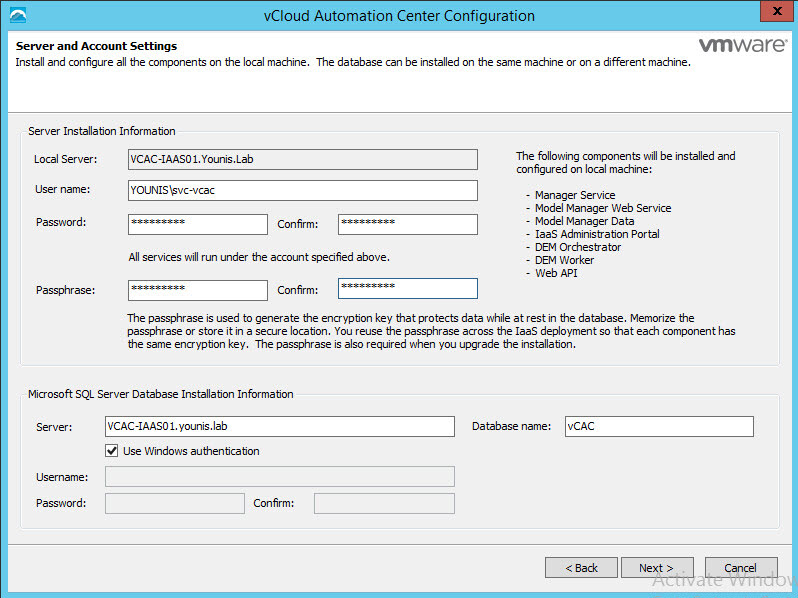
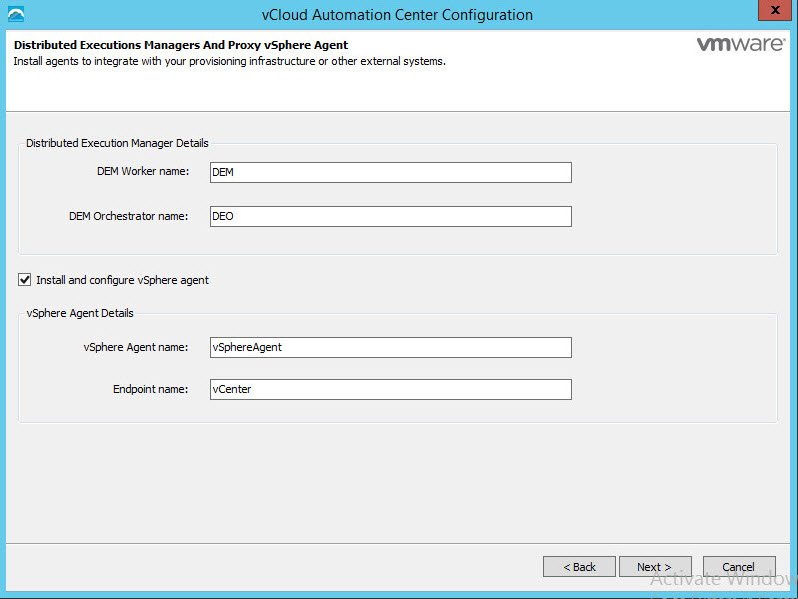
Note: Don’t lose your passphrase, it’s required to provide the encryption key for other IaaS components. - Distributed Executions Managers: provide names for the DEM Worker & Orchestrator.
- Proxy vSphere Agent: name can be changed but make note of it as it is required when adding your endpoint. Click Next.
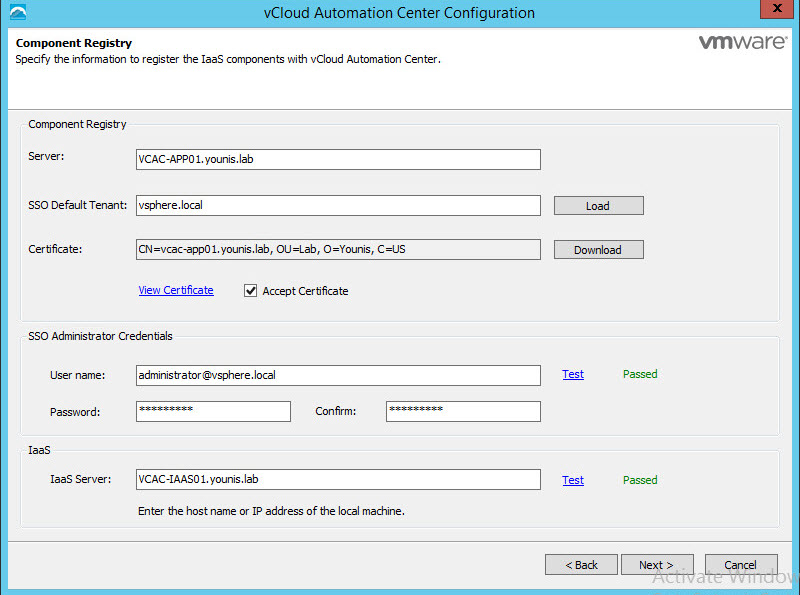
- Provide the following in the Component Registry:
- Click on Load to load the SSO Default tenant.
- Click on Download to pull in the vRA Automation certificate.
- Select Accept Certificate.
- Enter the [email protected] account credentials and click Test.
- Verify the IaaS Server FQDN and click Next.
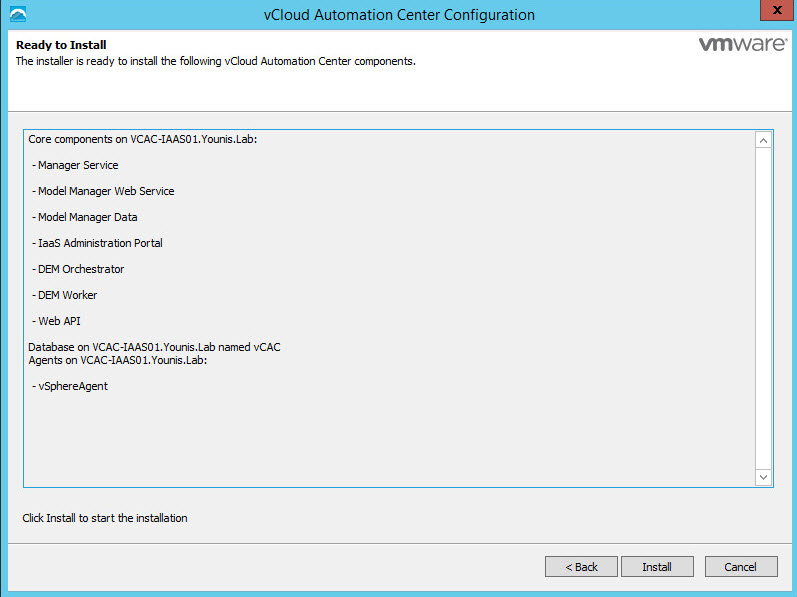
- Verify the components information and click Install.

- The install process will take some time to complete, good time to take a break!


Verify IaaS Services & Tenant
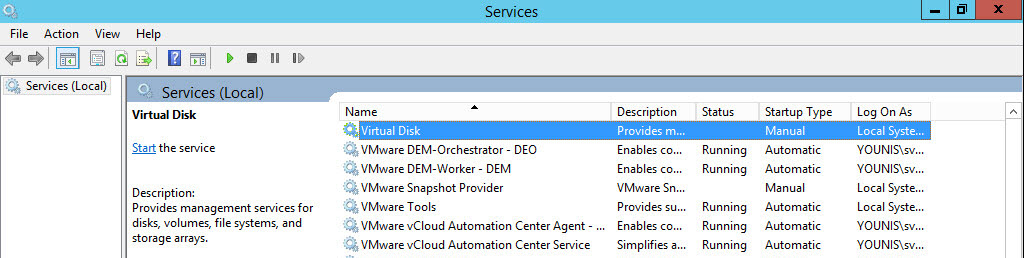
- Once the IaaS install is complete, verify the following services are running:
- VMware DEM-Orchestrator
- VMware DEM-Worker
- VMware vCloud Automation Center Agent
- VMware vCloud Automation Center Service

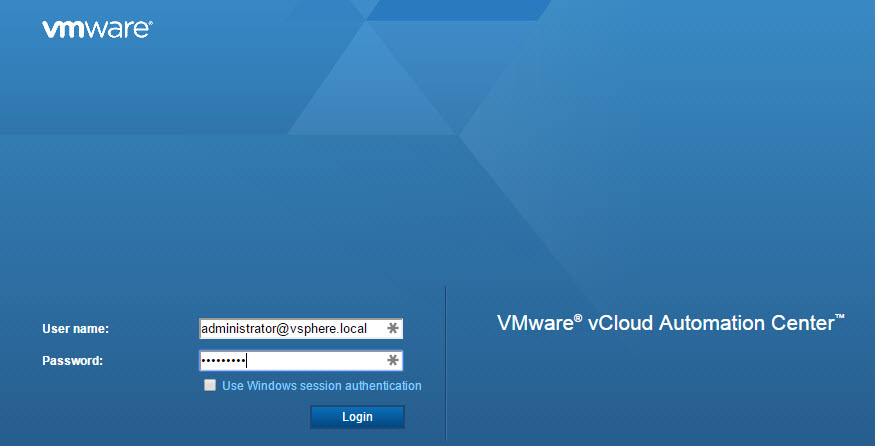
- Log in the default tenant https://vRA FQDN/shell-ui-app using [email protected].

The IaaS deployment can seeing daunting at times, especially going through it the first time. One piece of advice is to use snapshots during this process. They come in handy if you must revert back to a previous state of the deployment, just don’t forget to clean up when done. Also if you run into any errors during the IaaS install there is a link to open the installer log folder at the bottom of the installer. Once you vRealize the error of your ways, uninstall and re-install or just revert from snapshot.