Ravello Lab Setup for VMware Integrated OpenStack (VIO) Part 2

 Previously, we talked about the prerequisites (link) needed for a successful VIO deployment. Now that we’ve met them, let’s take things to the next level and deploy VIO. VIO is available at no cost to those who have purchased the following VMware licensing:
- vCloud Suite (all editions).
- vSphere with Operations Management Enterprise Plus (vSOM).
- vSphere Enterprise Plus.
“At no cost” means you’re entitled to download and use VIO, but support from VMware is not included. While support isn’t required, it’s recommend in case you need to troubleshoot with VMware. Support can be purchased on a per CPU basis, for more information take a look at the VIO FAQ page.
Downloading VIO
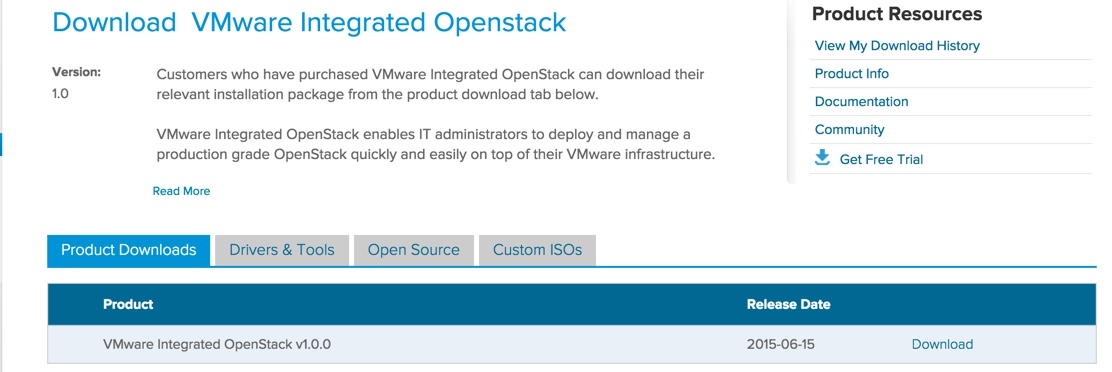
If you don’t have one of the VMware licenses that give you access to VIO, the other option is to download a 60 day evaluation from this link (a My VMware account is required).
Under the Product Downloads tab, click Download.
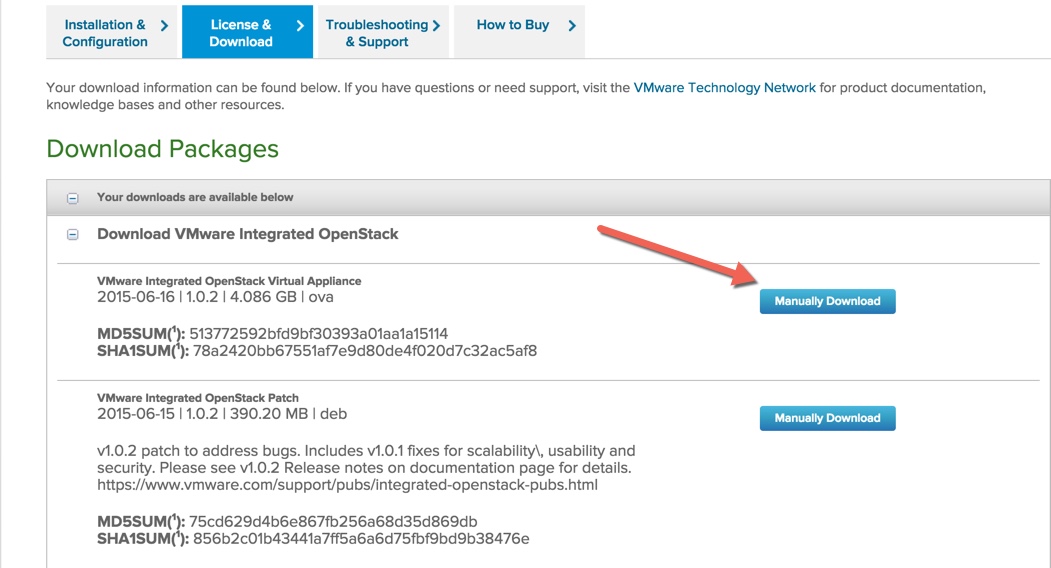
Go to the License & Download tab, and click Manually Download to download the VIO OVA.
Ravello VIO Lab
 The Visio-like canvas in Ravello is a nice touch in my opinion. One feature that helps from a logical perspective, is called Group. As the feature states, Group allows the grouping of VMs. Once VMs are in a group, options can be set on the entire group. These include start, stop, restart, power off, and delete. You still have the option of controlling individual VMs within the group. To see the options, click on a particular VM. Options will vary depending on whether the VMs is powered on.
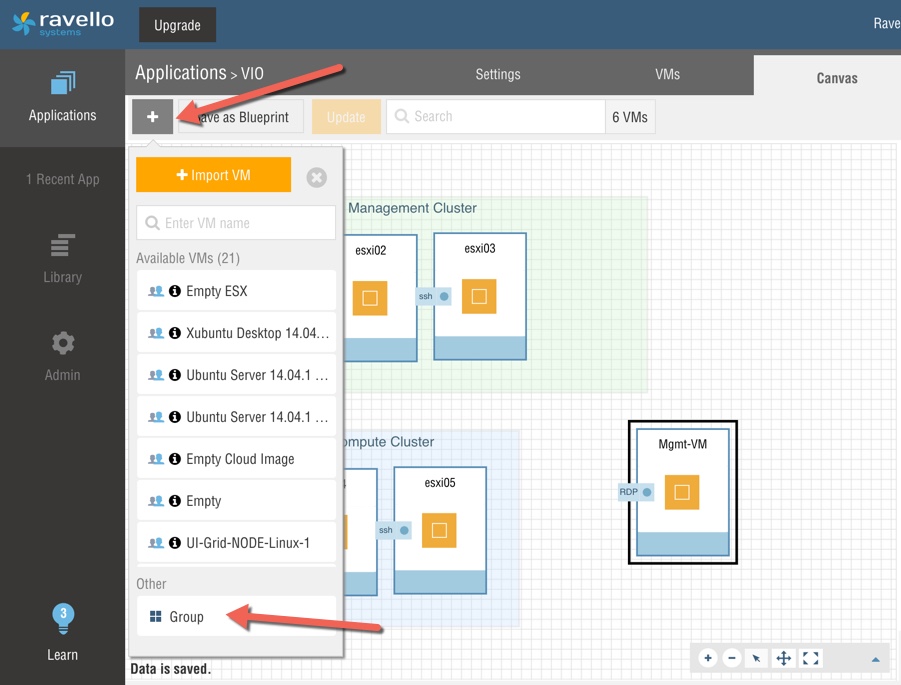
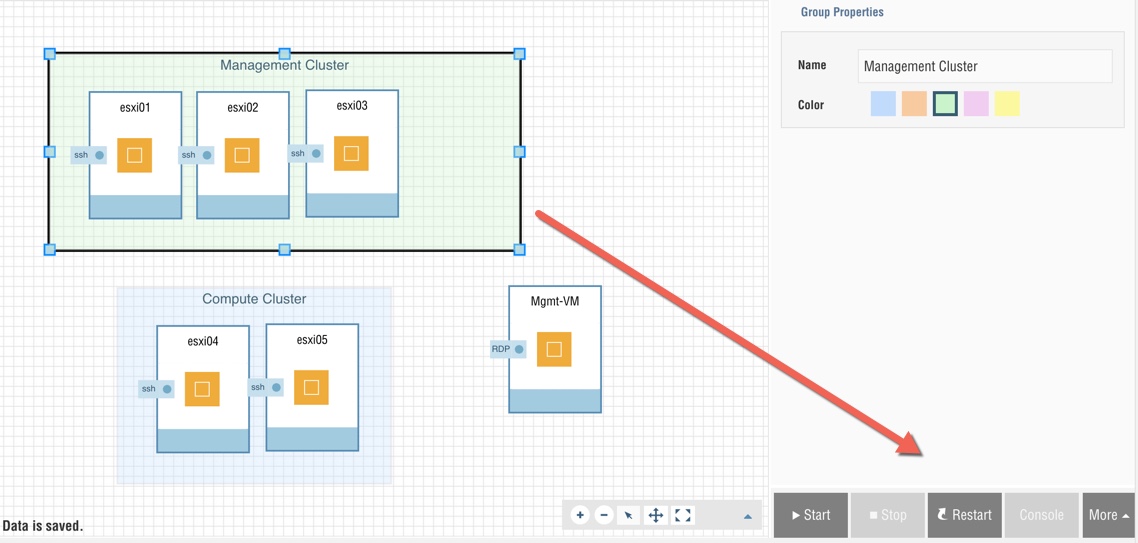
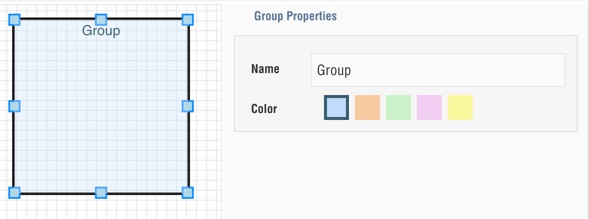
A Group is not static once created, you can add or subtract VMs as needed. Other group settings include providing a name and selecting a pretty color. Also you’re not limited to just creating a single group. In my case I have a Management Cluster group and a Compute Cluster group.
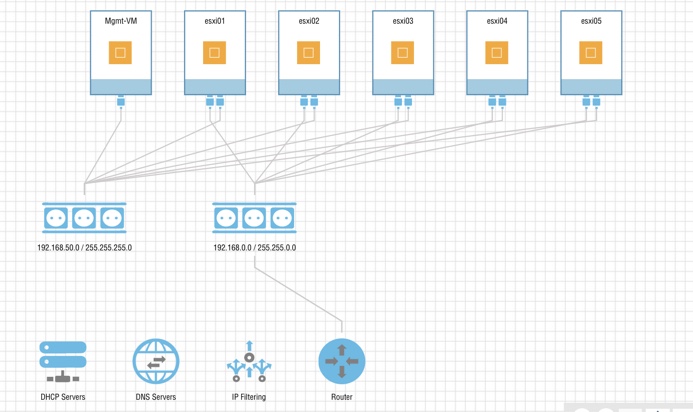
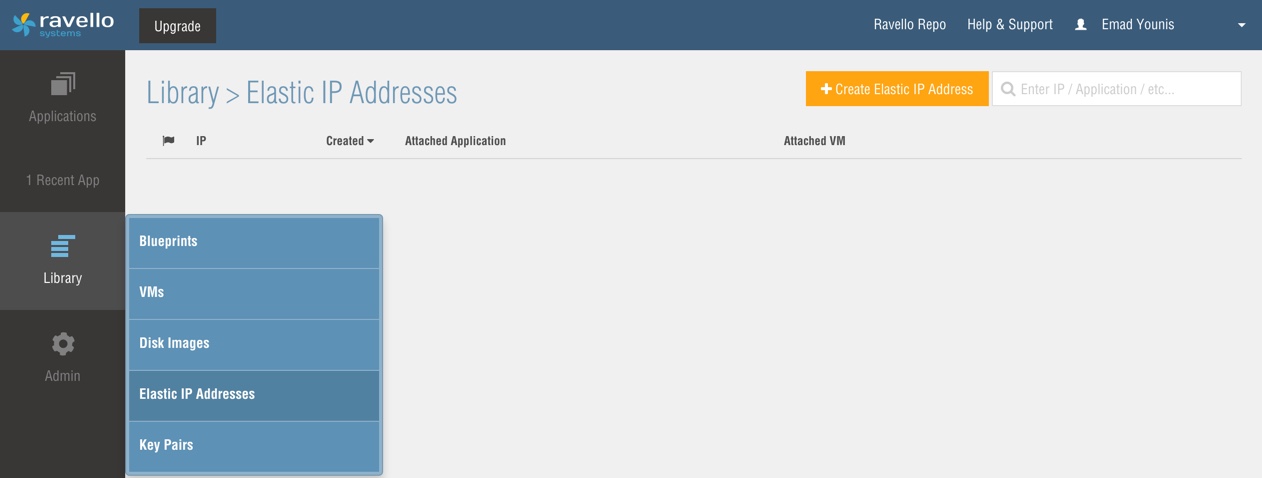
Another feature that makes Ravello simple to use is Networking. Provide either a static IP or DHCP address, and see the magic happen from the network tab. This includes a visual mapping of the network for you. There is also the option of using an Elastic IP repository.
Other settings include: VM start order, Application Scheduling, and Blueprint.
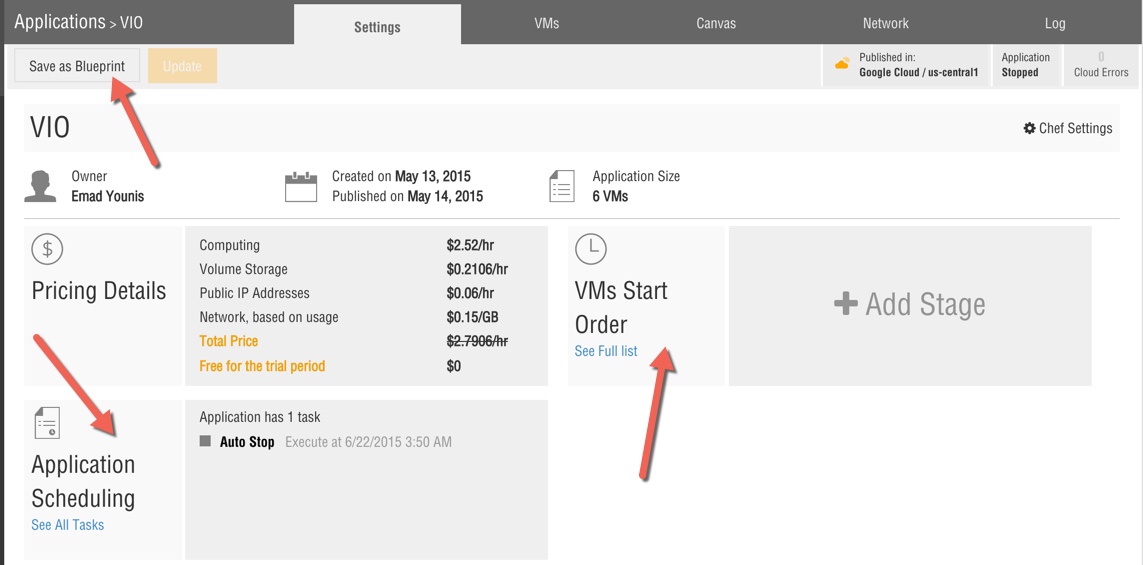
VM start order allows the stop and start order of VMs within an application. For example if you have a three tier application you can control the boot order and shutdown of the VMs within the application.
Application Scheduling controls the start and stop of an application. For example if you want to schedule an application to start on every week on Wednesday at 2pm and stop at 5pm.
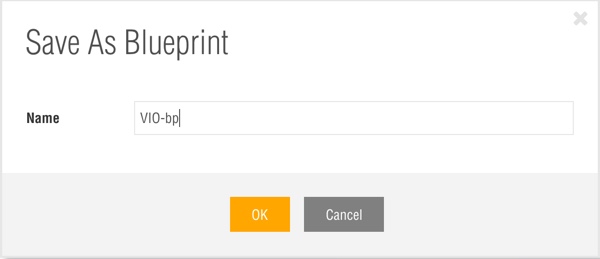
Blueprint allows you to save your configuration as a template. This template can then be redeployed several times in parallel. You can share with individuals or groups. If you publish your application in one cloud (Amazon or Google) and would like to change to another, a blueprint can help do that.
Note: Some cloud providers will charge by the hour. For example if you run your VM(s) for 10 minutes and then shut it down, the bill will be for an entire hour, not the use time of 10 minutes. This is not a Ravello limitation, but based on how most cloud providers charge. So use your time wisely.
Deploying VIO OVA 
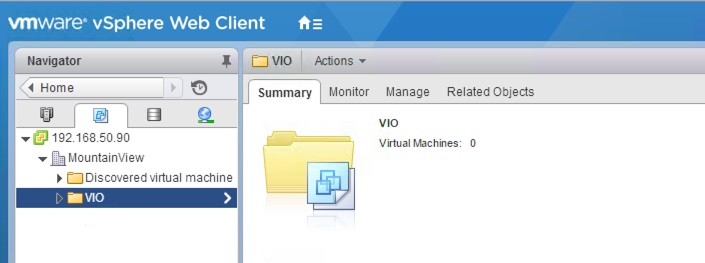
- Create a folder under VM and templates view, mine is called VIO.

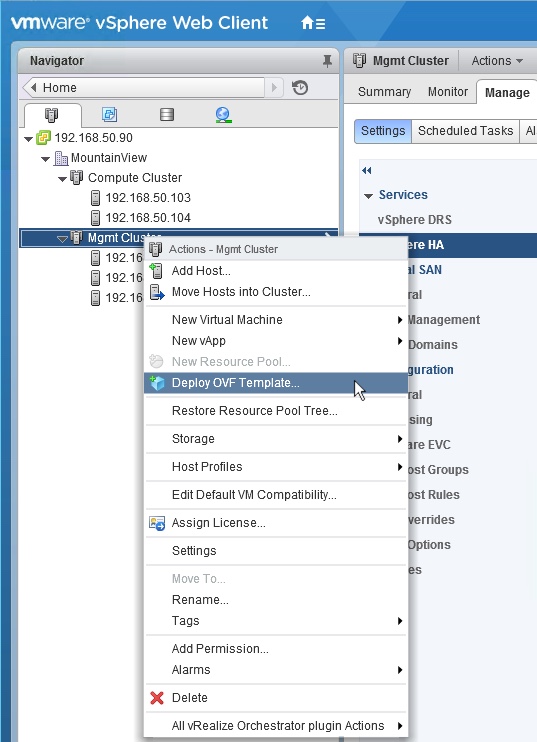
- Right click on the Mgmt Cluster and select Deploy OVF Template.

- Browse to the location of the VIO OVA and click Next.

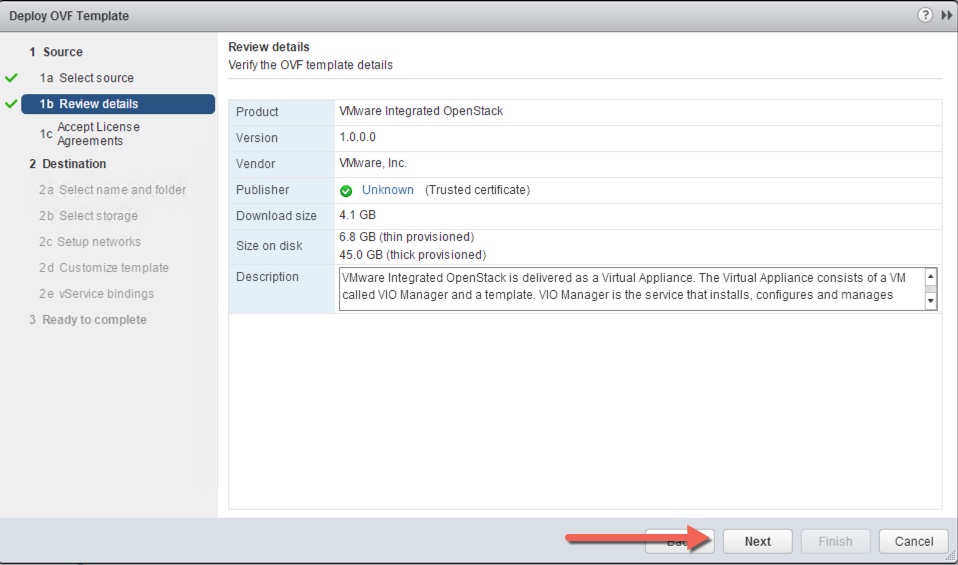
- Review the details of the VIO OVA and click Next.
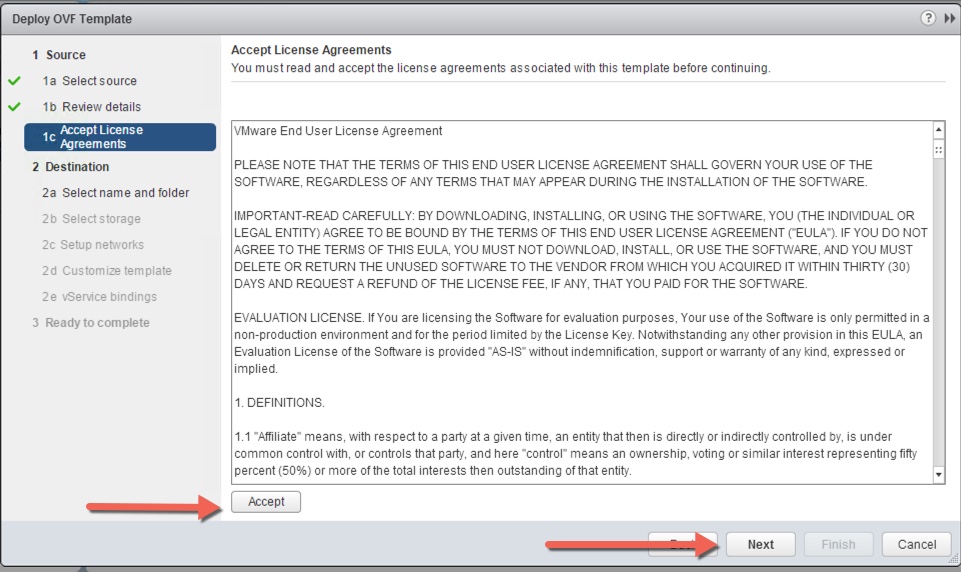
- Accept the EULA and click Next.

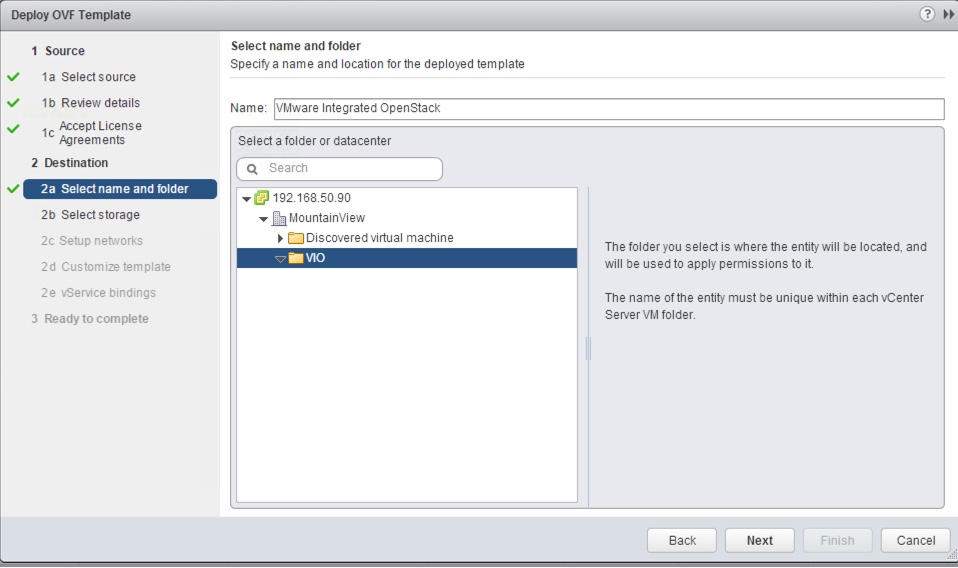
- Enter a name that will be used for the VIO vApp and select the deployment folder. Click Next.

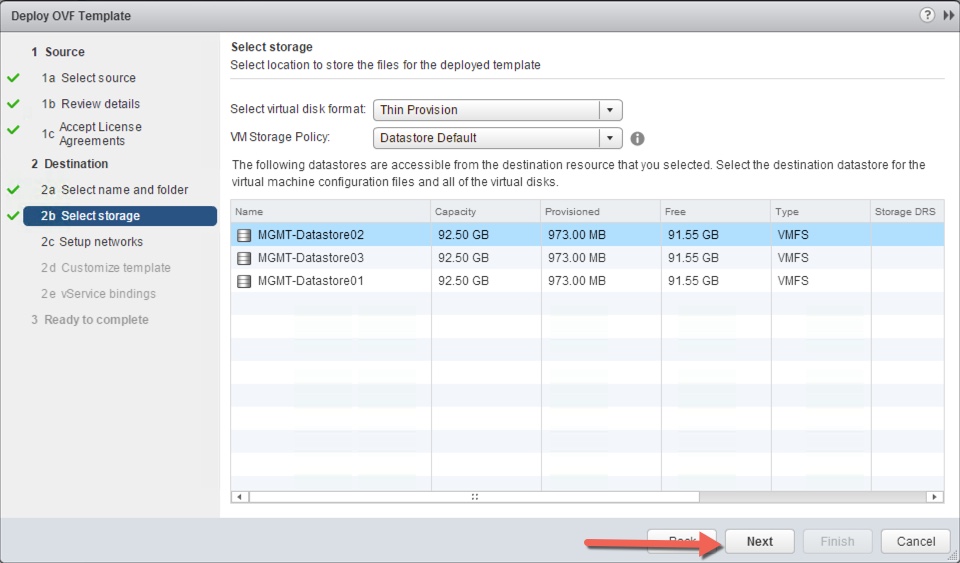
- Select the storage location for the VIO OVA, disk format, and storage policy. Click Next.
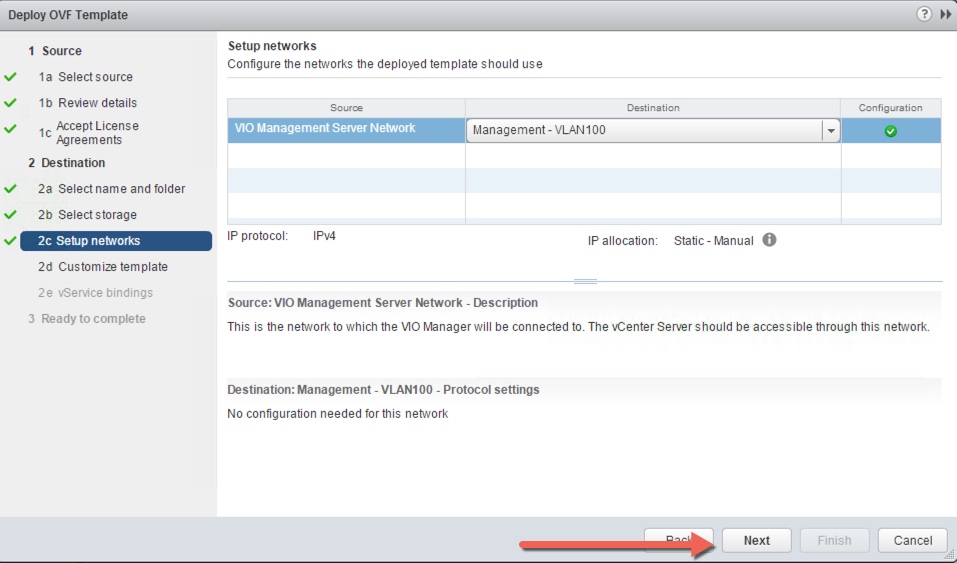
- Select the network the VIO manager will be connected to. vCenter should also have access to this network. Click Next.
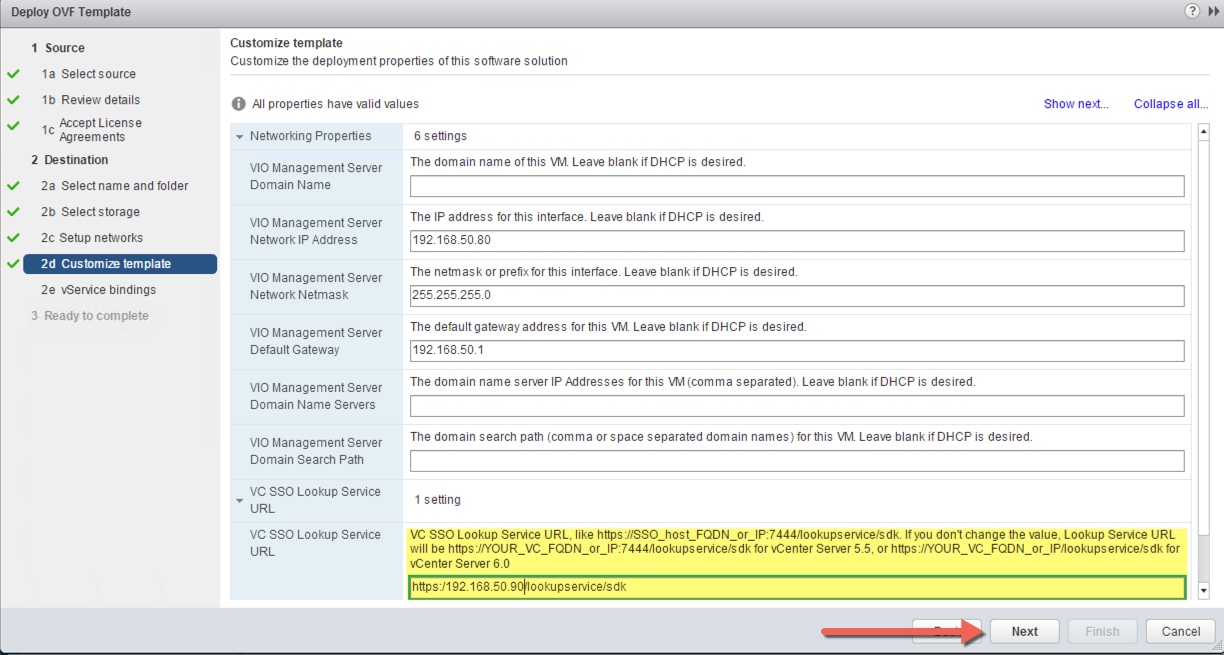
- Input all the properties values for the VIO OVA deployment. One value to pay close attention to is the VC SSO Lookup Service. When using vSphere 5.5 the SSO port of 7444 is required, which is not for vSphere 6.0.
vSphere 5.5 – https://vCenter FQDN or IP:7444/lookupservice/sdk
vSphere 6.0 – https://vCenter FQDN or IP/lookupservice/sdk
Note: If SSO configuration is not correct here, it will cause issues when configuring VIO.

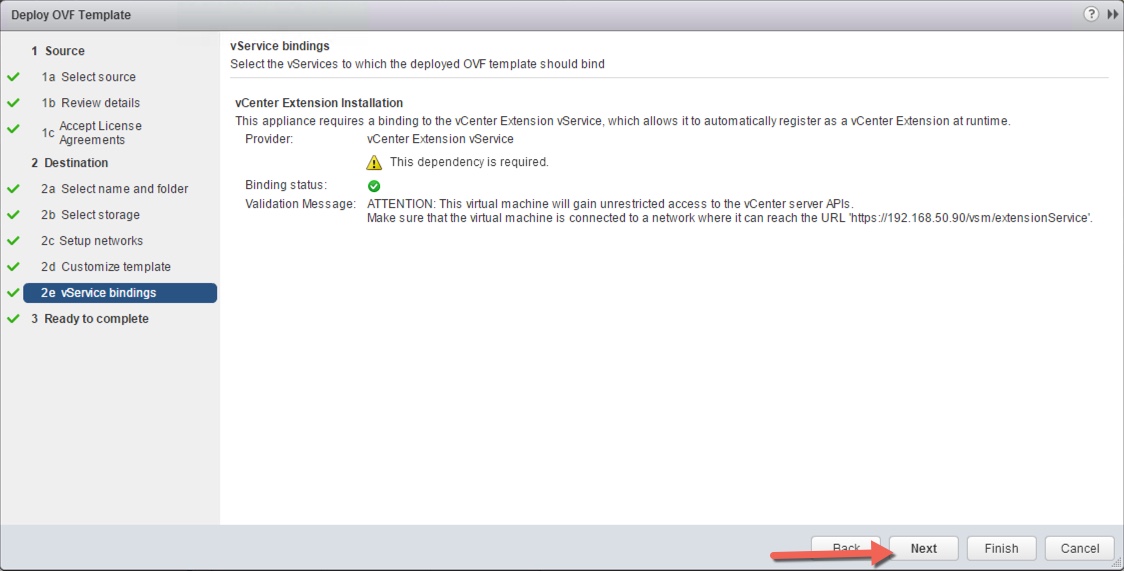
- Validate the vService bindings and click Next.

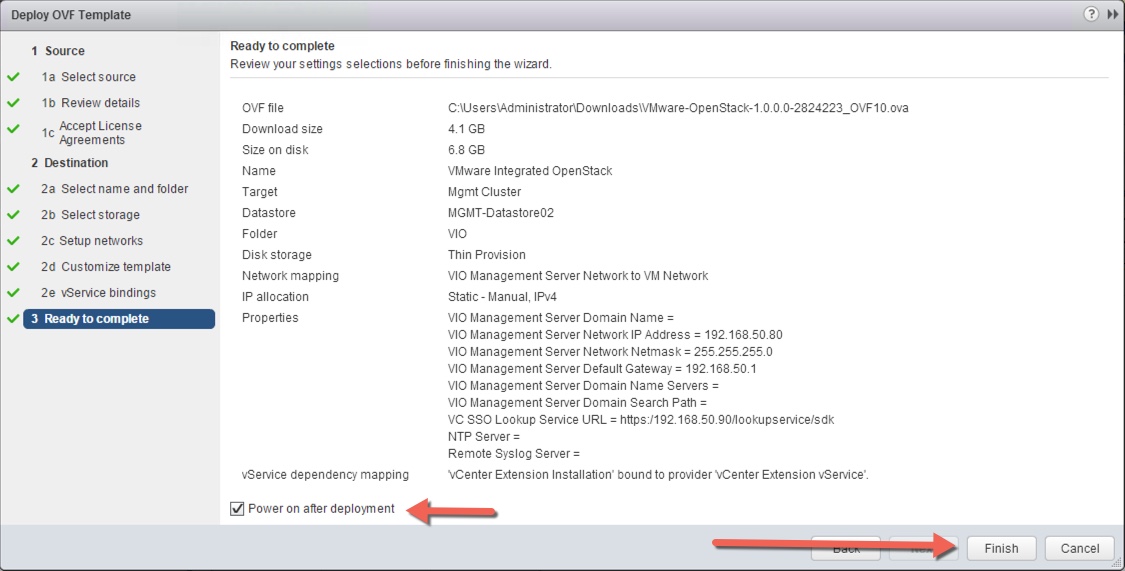
- Review settings, check power on after deployment, and click Finish.
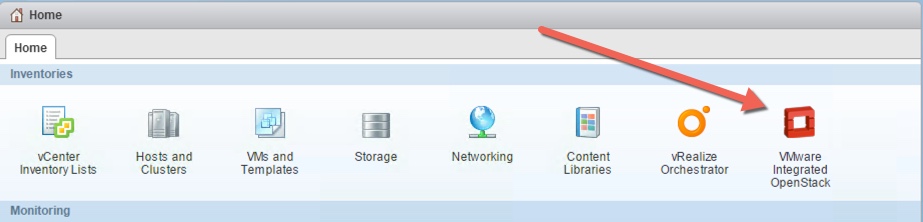
- Verify the VMware Integrated OpenStack icon appears on the home page of the Web Client. If the Icon is not present then log out and back in the Web Client.


Power On
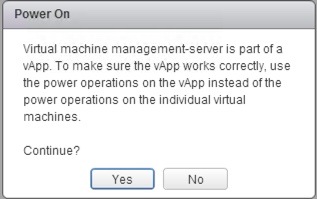
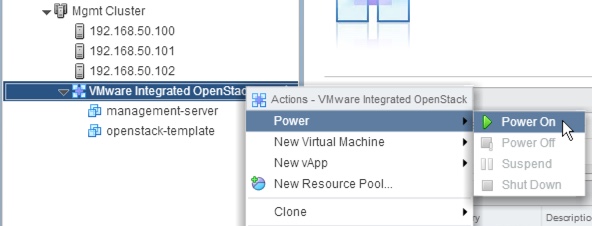
 If you attempt to power on the VIO management-server outside of the vApp, the following message will appear. Click No and power on the vApp.
Note: Since I’m deploying VIO on Ravello, running nested ESXi hosts the following error was encountered. To resolve this follow the instructions in VMware KB 2108724.

Summary
At this point you should have the VIO OVA deployed, the vAPP powered on, and see the VMware Integrated OpenStack icon in the home page of the vSphere Web Client. The next few blog posts will cover configuring VIO and errors I encountered.