Ravello Lab Setup for VMware Integrated OpenStack (VIO) Part 1

 The past few months I have been getting more familiar with OpenStack. By now it should be obvious that OpenStack will not be going away anytime soon, so it’s time to embrace it. Yes, I’m talking to you VMware admins!
DevStack is a quick way to get started, having all the components required to deploy OpenStack in a single VM. This type of deployment is great for labs that have minimal resources, or for development environments. For a production environment, DevStack is not the deployment you’re looking for. But don’t worry, from the same folks who bought you vSphere now comes VMware Integrated OpenStack (VIO). VIO provides an easy familiar deployment type for VMware admins using an OVA. The deployment is resource intensive, but you will get a highly available OpenStack environment. This environment will be able to access VMware features, such as DRS, HA, and vMotion. Let’s jump in and see how VIO is deployed and configured.
Prerequisites

- vSphere 5.5 update 2 or vSphere 6.0 Enterprise Plus.
- ESXi host(s) with eight or more CPUs.
- Management cluster of at least three hosts with 56 CPUs & 192GB of RAM.
- 665GB of storage for NSX deployment or 585GB for vDS deployment (separate license required for NSX).
- Compute cluster with at least one host and 20GB of storage.
- vCenter & ESXi hosts must use the same NTP server.
Deployment of VIO takes place in two stages. First, the management cluster. The 15 virtual machines that make up the VIO components / services live here. Second, is the compute cluster. Deployment and management of tenant workloads take place here. As I go through the VIO deployment process I’ll go into more detail with each step. I’ll also try to explain more of the OpenStack terminology as it relates to the VMware administrator.
Ravello Lab Environment
The great folks at Ravello were kind enough to give me access to try out their product. They’re the perfect solution for labs, dev, and test environments. They already have a large library of VMs to choose from, all that’s required are the ISOs. All you need to do is drag and drop the VM type from the library to the canvas. Configuring a VM is done by simply selecting a VM and going through the configuration tabs on the right hand side (General, System, Disk, Network, and Services). Once your changes are saved, update the configuration and you’re ready to start your VM.
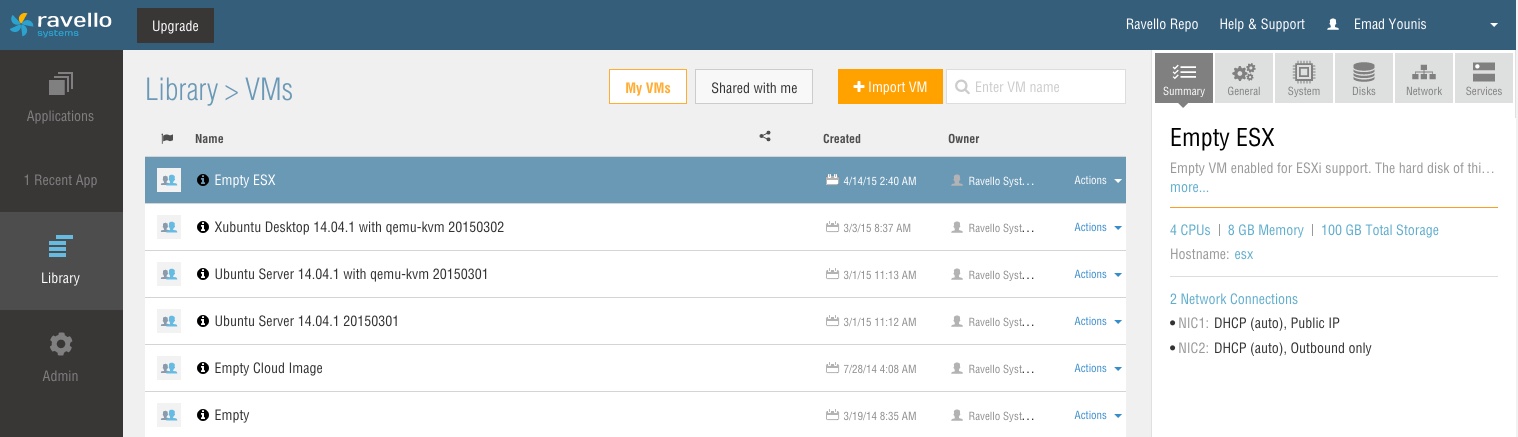
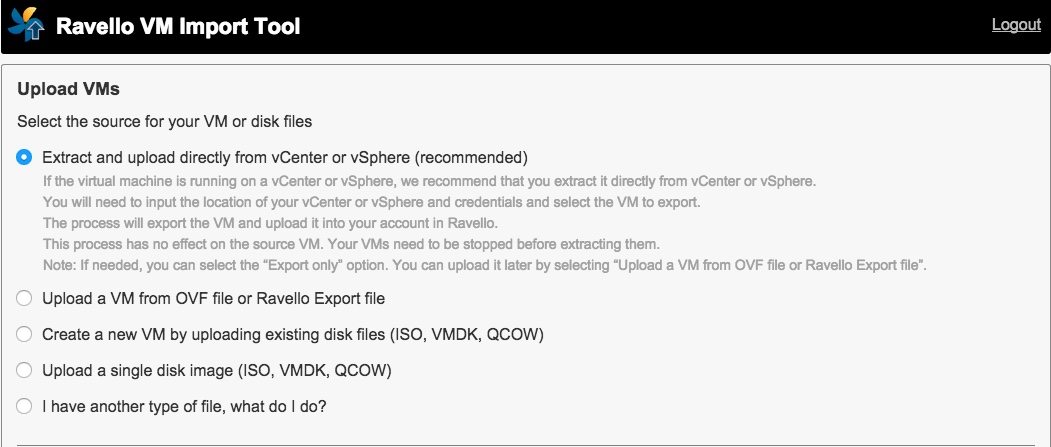
If the VM you’re looking for is not in the library, you have the ability to create it or add your own. The library has an Empty VM that can be used to create a new VM type, and you’ll have the ability to save it later. You can also upload your existing VMs, ISOs, QCOW, and OVFs using their upload tool. I uploaded an ISO for ESXi and Windows Server for management. My storage VM and VIO OVA will be uploaded to my MGMT-VM for deployment to vCenter.
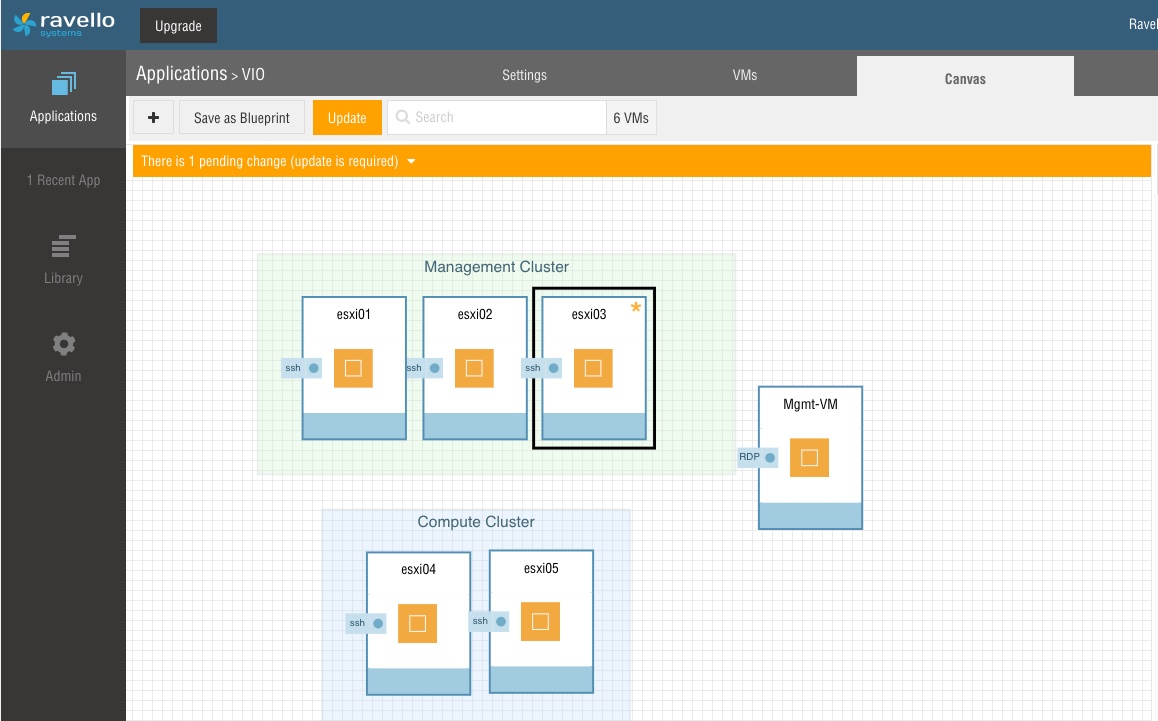
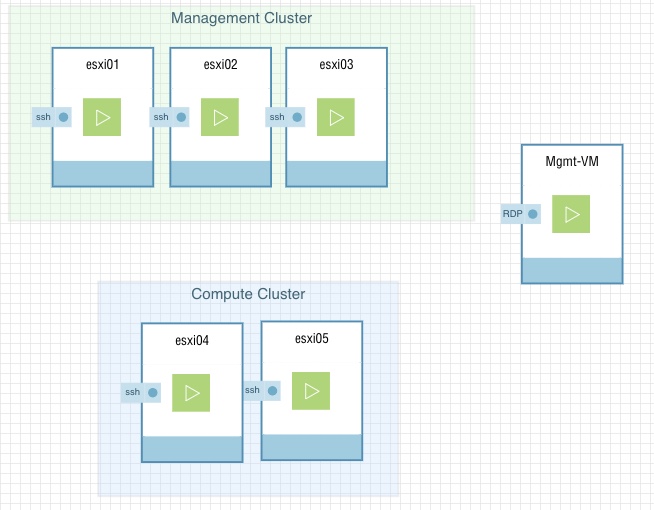
My Ravello configuration consists of the following:
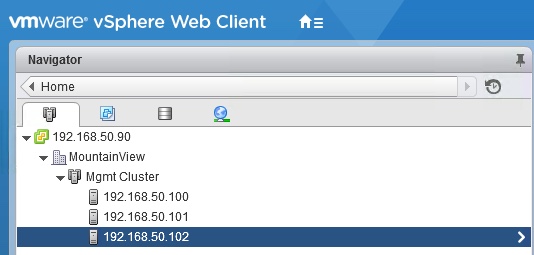
- vSphere 6.0
- 3 hosts for a management cluster
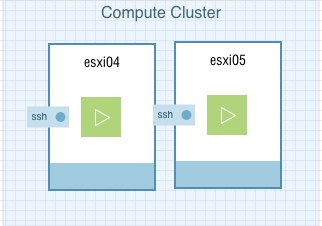
- 2 hosts for a compute cluster
- 1 MGMT-VM running vCenter
vCenter Prep
Before deploying VIO, make sure your vCenter server configuration meets the deployment standards for VIO.
[While a dedicated vCenter server is recommended, VIO can be deployed leveraging your existing vCenter server].
- Create a datacenter for your VIO deployment.
Note: Don’t use any special characters in your datacenter name such as commas.

- Create a dedicated management cluster with at least three hosts.
Note: Although not supported, you can get away with two hosts for POC / Lab environments. - Attach datastore(s) to the management cluster for deployment of VIO VMs, also for use with glance (image service).
- Create a dedicated compute cluster with at least one host.
- Attach datastore(s) to the compute cluster for deployment of instances (virtual machines).
- Network options include using VDS or NSX (comparison can be found here):

Note: Network type of vDS or NSX must be decided prior to VIO deployment as you will see once one is selected there is no way to change without a redeploy.
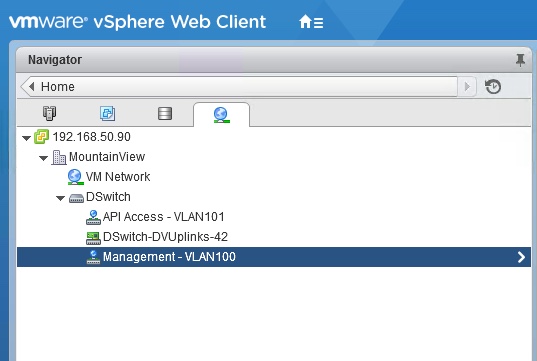
VDS
- Create a VDS.
- Add hosts in the Management and Compute cluster.
- Create a Management and API Access port group, and tag each with a VLAN ID for their respective network.
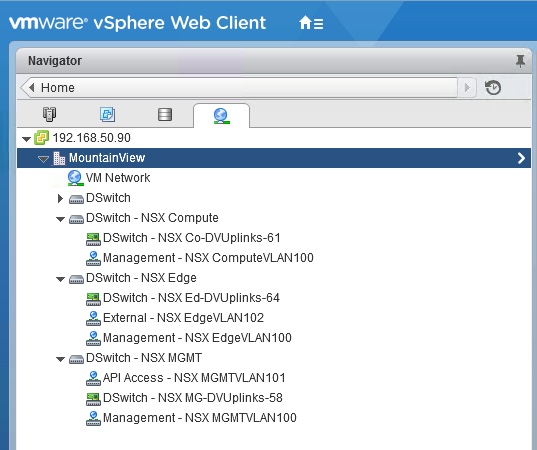
NSX
- If you’re using NSX, create a dedicated cluster for Edge nodes (provide DHCP, routing, and floating IP addresses).
- Create a separate VDS for Management, Compute, and Edge.
- Create a management port group on each VDS (Management, Edge, and Compute), and tag them with the VLAN ID assigned to the Management network.
- Create the API Access port group on the Management VDS, and tag it with the VLAN ID assigned to the API Access network.
- Create an External Network port group on the Edge VDS, and tag it it with the VLAN ID assigned to the External network.
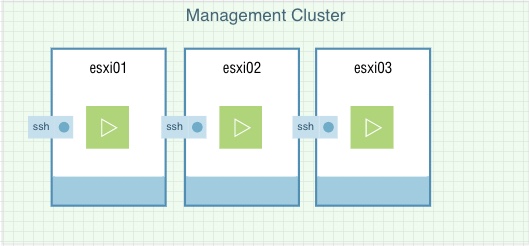
Stage 1: Management Cluster Configuration
This is where your VIO deployment takes place, more on that in a later post.
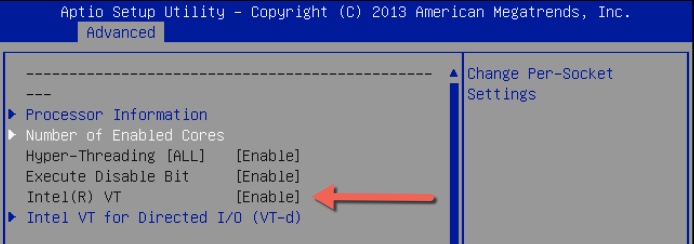
- Enable Hosts VT BIOS setting

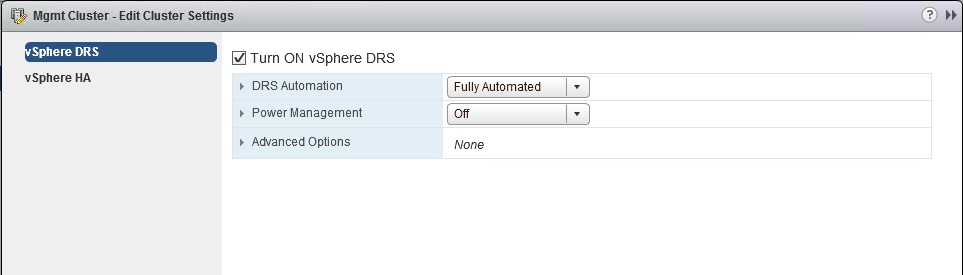
- Enable vSphere DRS: Manage –> Settings –> Services –> vSphere DRS.
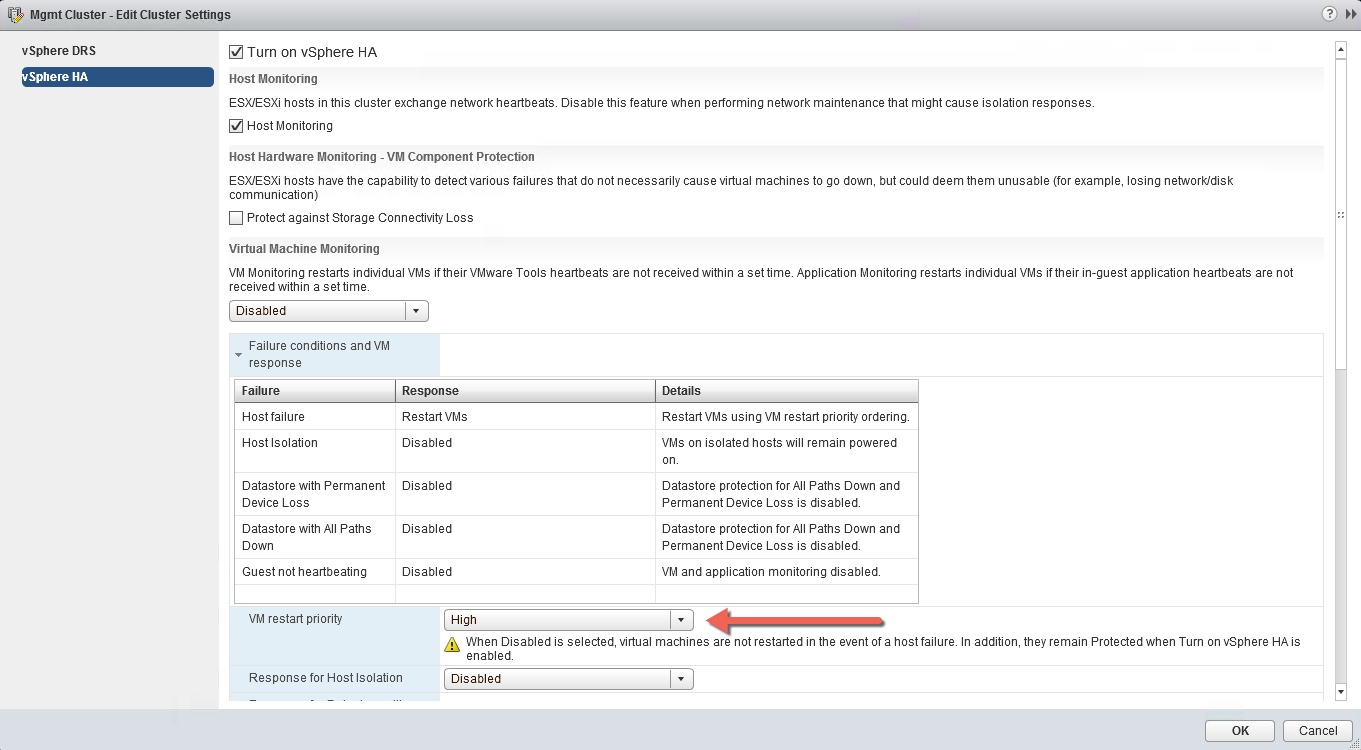
Steps 3-7 are all done under vSphere HA settings. - Enable Host Monitoring: Manage –> Settings –> Services –> vSphere HA.
Note: Host Monitoring was turned on by default, but it’s always good to verify.

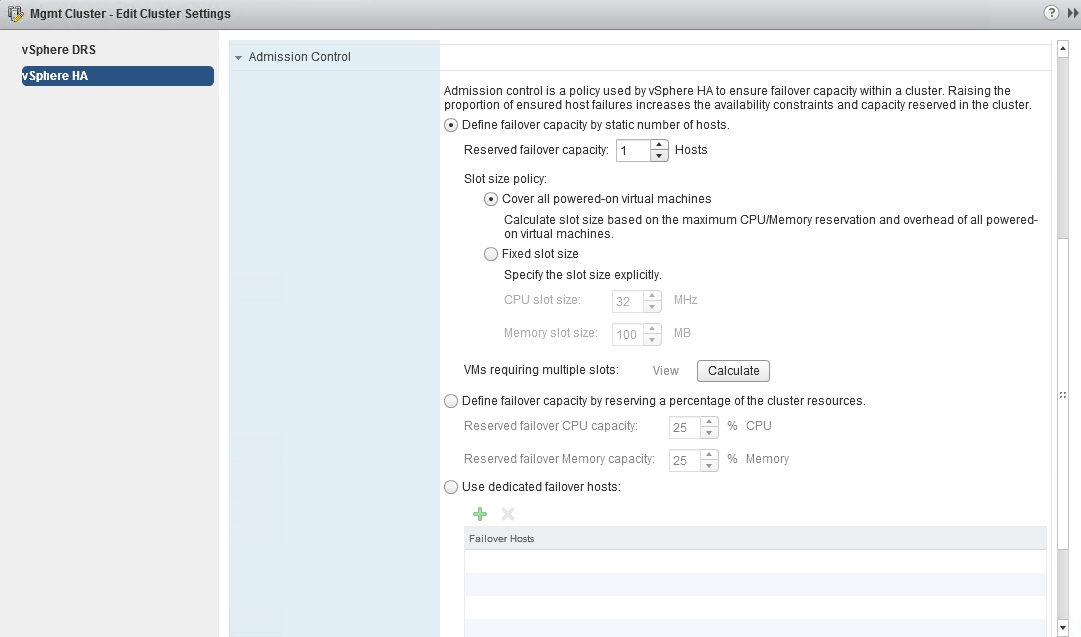
- Enable Admission Control: Manage –> Settings –> Services –> vSphere HA –> Admission Control.

- Set VM restart priority to High: Manage –> Settings –> Services –> vSphere HA –> Failure conditions and VM response –> VM restart priority.
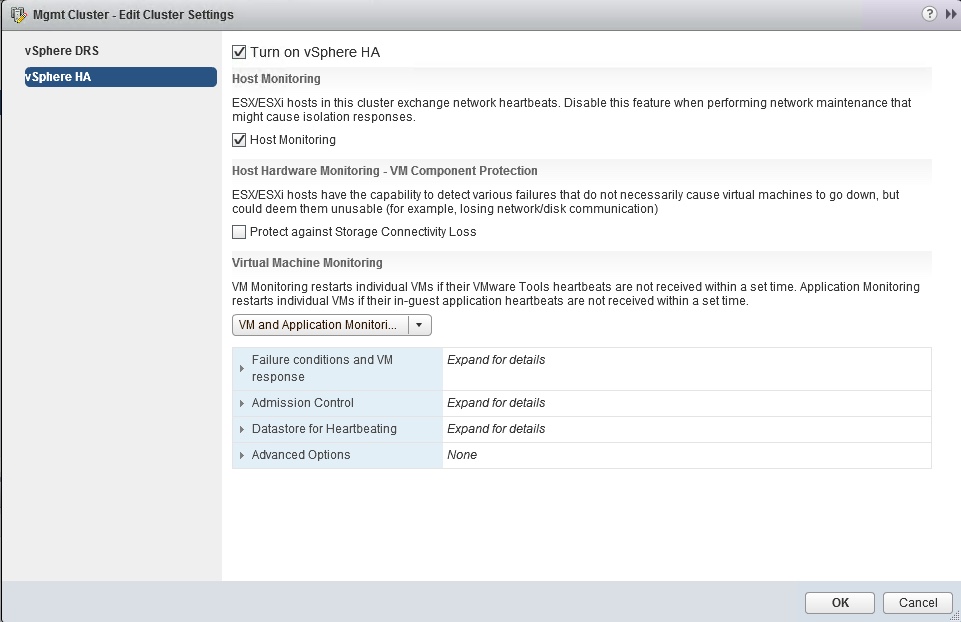
- Set VM Monitoring to VM and Application Monitoring: Manage –> Setting –> Services –> vSphere HA –> Virtual Machine Monitoring.
- Set Monitoring sensitivity to High: Manage –> Settings –> Services –> vSphere HA –> Failure conditions and VM response –> VM monitoring and sensitivity.

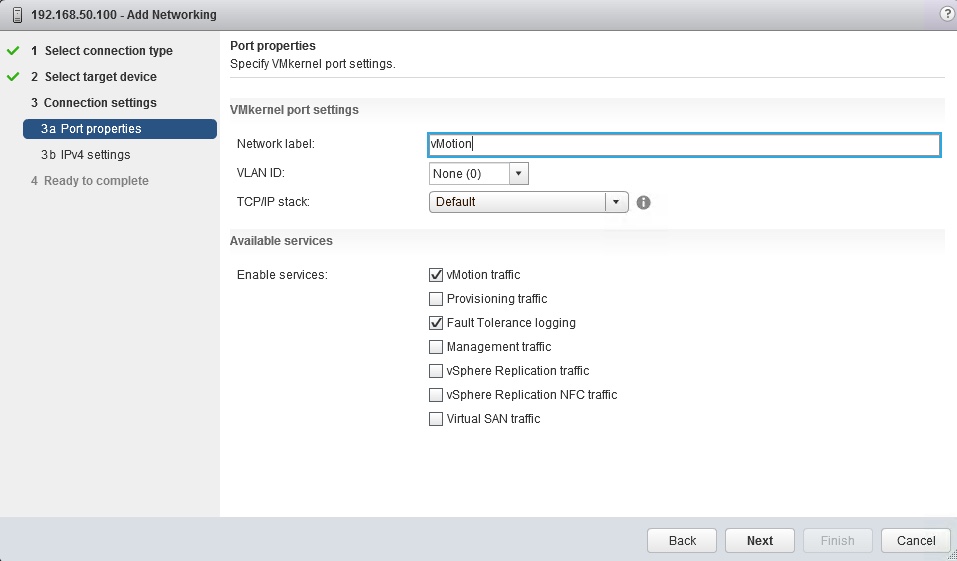
- Enable vMotion and Fault Tolerance Logging: Add new VMkernel port for vMotion.

- Enable vMotion and Fault Tolerance for Management Network VMkernel port: Host –> Manage –> Networking –> VMkernel Adapters.


Stage 2: Compute Cluster Configuration
Rinse and repeat for the compute cluster, settings should mirror the Management cluster above. Your tenants will take residency here!

Summary
Using Ravello for my VIO lab was easy to set up and saved me time from having to free up resources in my home lab. I also enjoyed having external access to my environment via RDP for my management VM or SSH to my ESXi hosts. Now I have an environment that meets the VIO prerequisites and can proceed with the deployment. I will cover the deployment in the next post as well as some of the errors that I ran across in hopes of saving you time. Stay tuned!