vCenter Appliance (VCSA) 6.0 Scripted Install
The VCSA 6.0 has two deployment types, guided and scripted. The scripted deployment is now simplified. You are now provided several templates, 5 to be exact. Now You don’t have to just use the default templates you can add to them or even create your own. Getting started is not that hard; once all the necessary information is available. The templates are usable from a command prompt or PowerShell. Let’s walk through how to use both.
Templates
First let me start by saying the provided templates are in a JSON format. JSON stands for JavaScript Object Notation. This format is easy to read and write. In my opinion this one of the reason the scripted deployment is now simplified. OK, this is all great but where are the templates? The default templates are in the vcsa-cli-installer directory under templates of the VCSA ISO.
Note: Screenshots – Mac on the top / Windows on the bottom.
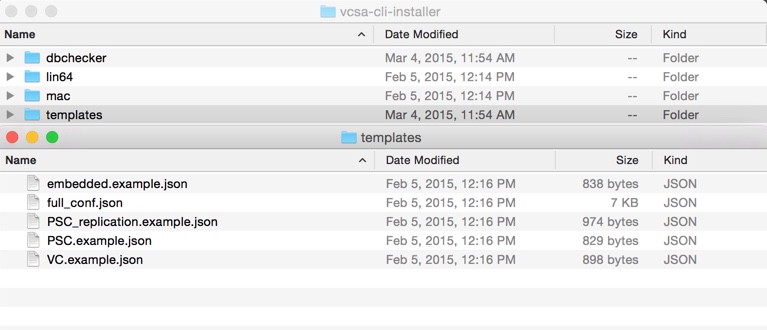
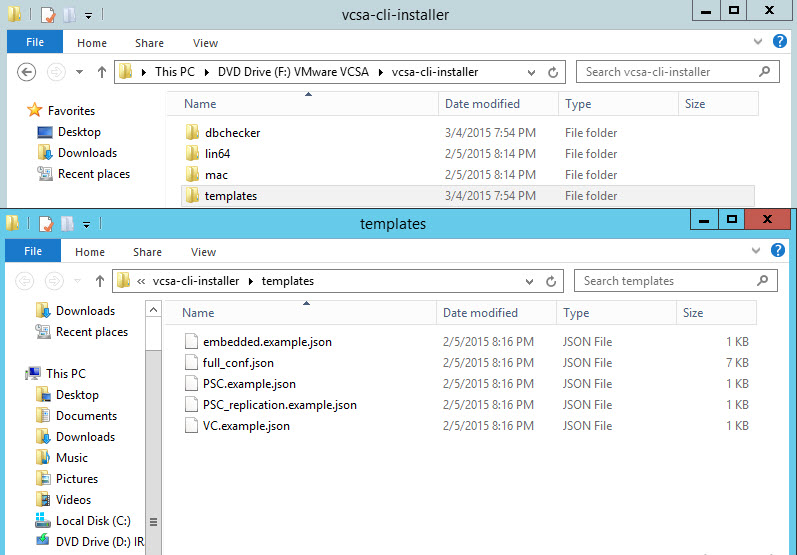
Here are the 5 available templates and their descriptions:
- Embedded – deploys a vCenter server with an embedded platform services controller.
- Full Conf – template used by vCenter Server Appliance CLI installer.
- PSC – deploys a Platform Services Controller.
- PSC Replication – deploys a Platform Services Controller which joins an existing SSO domain.
- VC – deploys a vCenter Server.
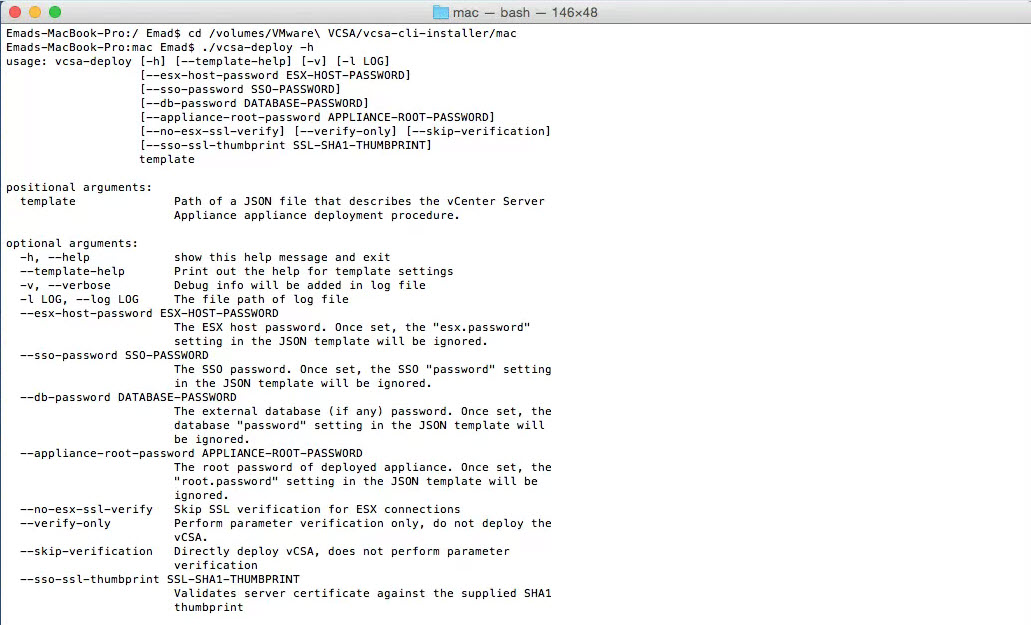
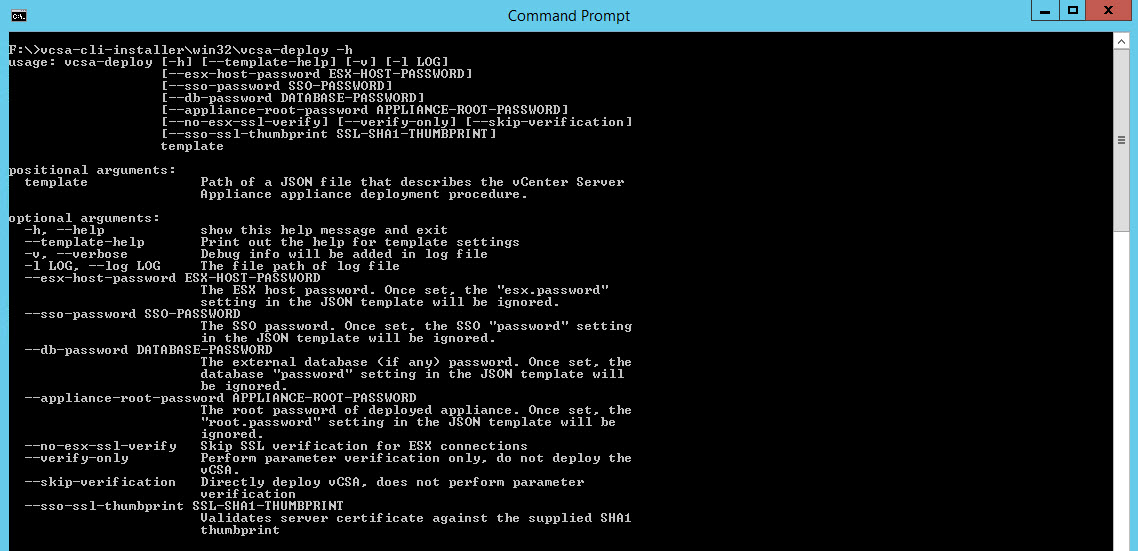
In order to understand the templates, let’s take a look at the help. The templates help option can be opened by using a command prompt or PowerShell session with administrator rights.
Command Line help
Under the vcsa-cli-installer directory there are three OS directories: Win32, Mac, and Lin64. Select the proper directory based on your OS and use the vcsa-deploy. The examples below show both Mac and Windows.
Mac = vcsa-cli-installer\mac\vcsa-deploy Win = vcsa-cli-installer\win32\vcsa-deploy
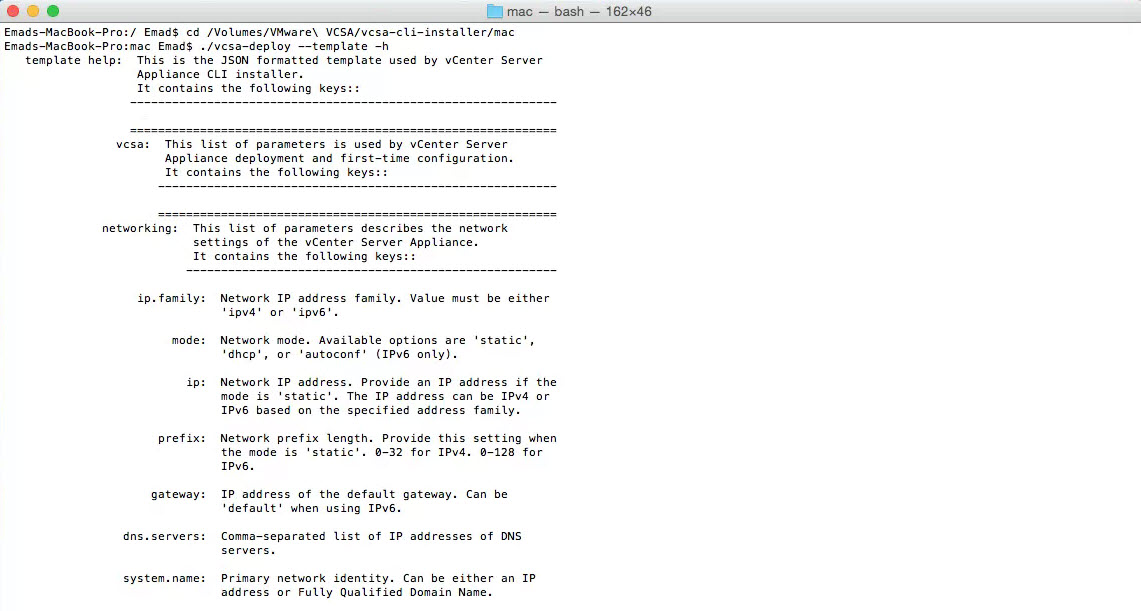
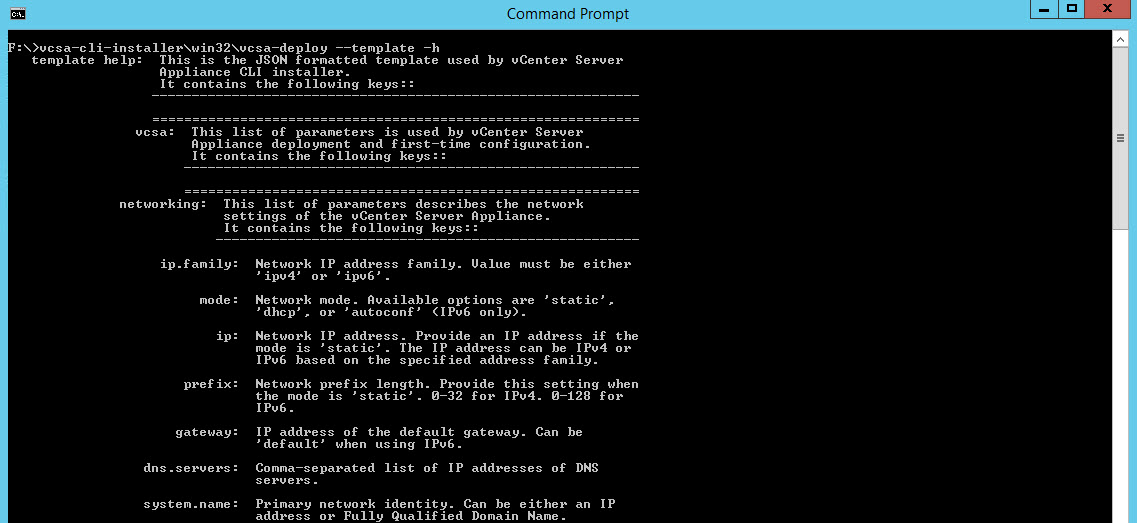
There are more options in the command line for template parameters using ––template –h. Here is a quick breakdown:
- Networking
- SSO
- System
- Database
- Deployment
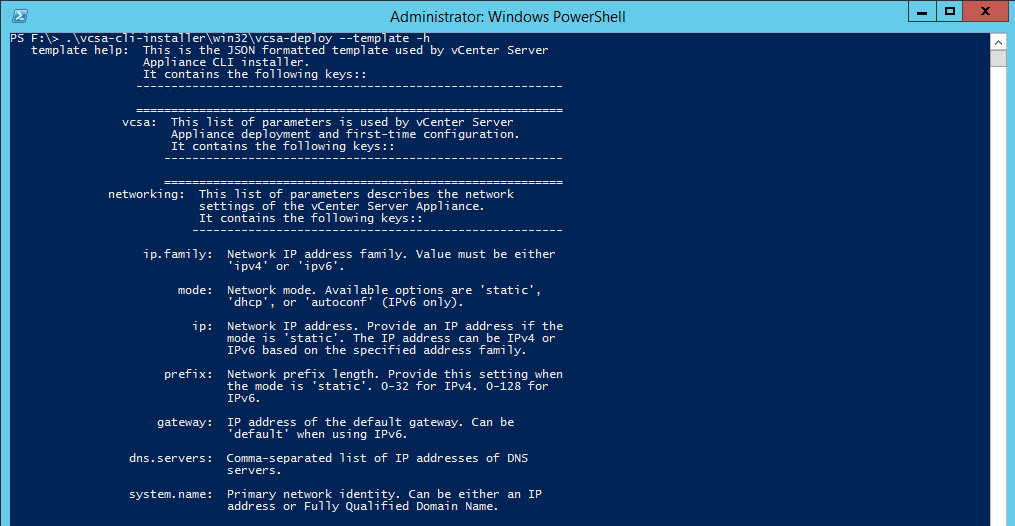
PowerShell Help
Just like the command line option. Point to the vcsa-deploy in the win32 directory.
.\vcsa-cli-installer\win32\vcsa-deploy -h

.\vcsa-cli-installer\win32\vcsa-deploy ––template –h
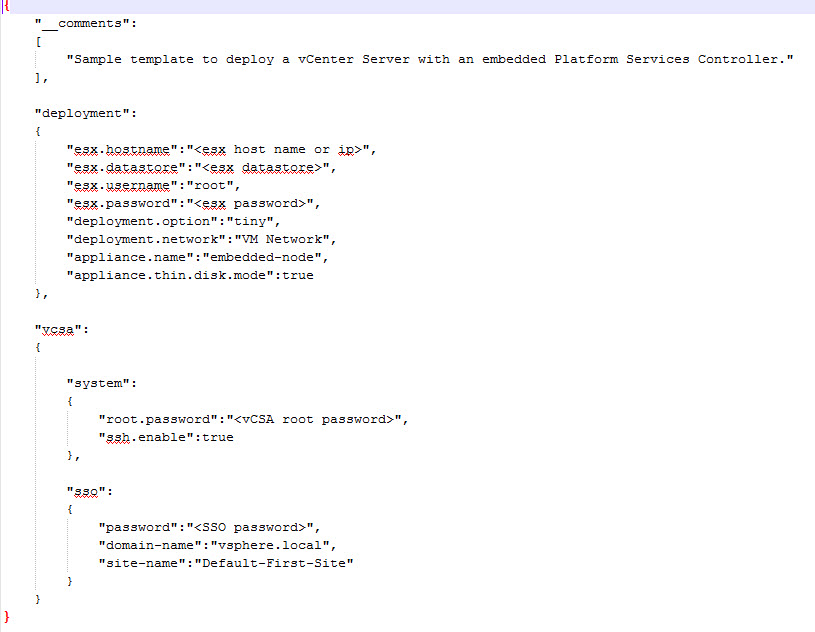
In this example I will be using is take the embedded.example.json template and customize it. Things to keep in mind:
- Make sure both forward and reverse DNS are in place.
- Only use one DNS entry in the template, installer fails with multiple entries.
- Unless otherwise specified the defaults will be an embedded database and PSC.
- There are some optional parameters that can be used with templates.
- SSO authenticated domain doesn’t need to be vSphere.local, make sure it’s not the same as LDAP domain name.
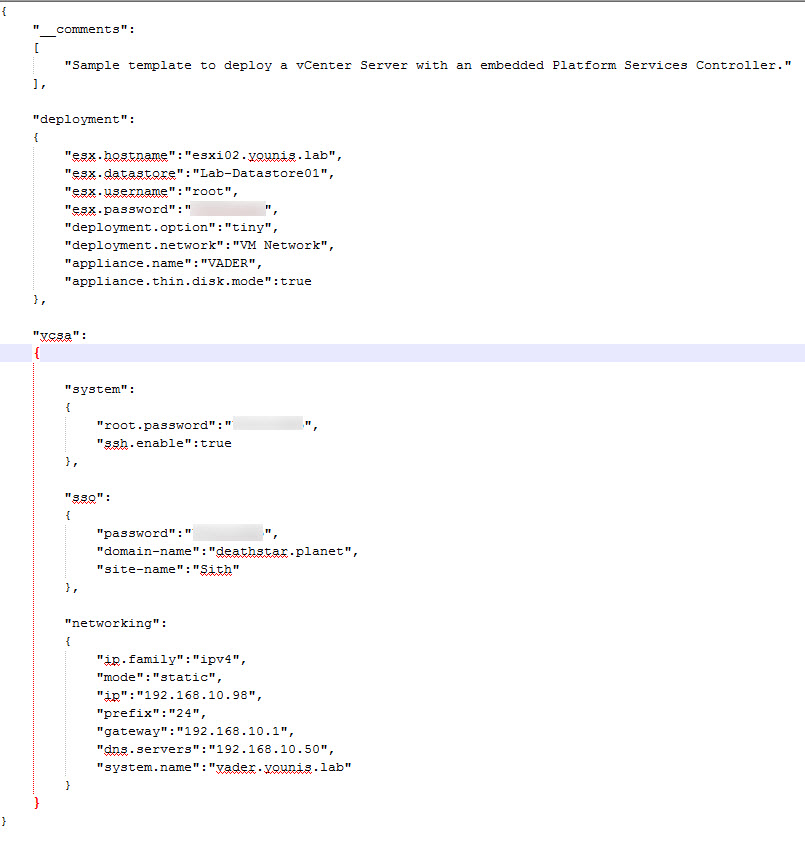
The template on the top is the original template provided on the VCSA ISO, bottom is the customized template based on the original.
Now that the template has been modified, it’s time to run it using either command line or PowerShell. In this example I will be using the windows command line.
Deploying from Template
- Open a command prompt with administrator rights.
- Navigate to the vcsa-deploy directory of corresponding to your OS (win32, mac, lin64)
- Add the path to the template you wish to run (location of your template).
- Press Enter and behold the magically deployment,

Once the template is deployed, it will power on and start installing services. Deploying from template took roughly 15-20 minutes to complete.
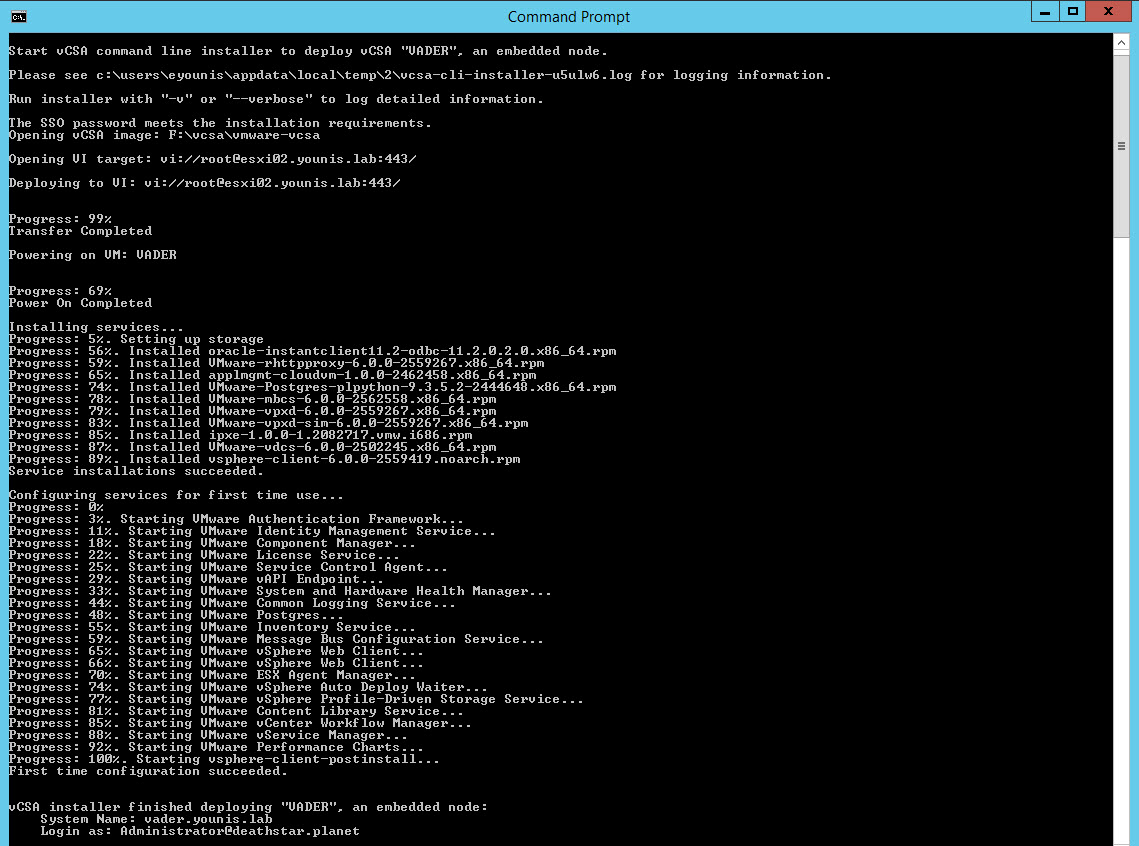
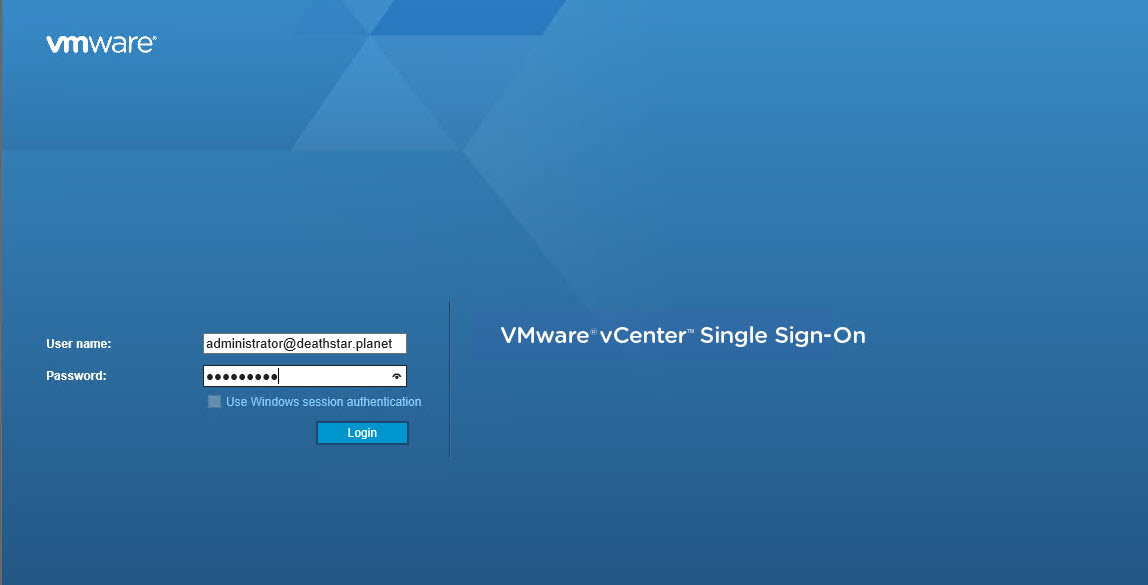
Log in the Web Client using https://VCSA FQDN or IP/vsphere-client using the administrator credentials you supplied in the template.
That’s it in a nut shell, of course there is a lot more you can do. This will definitely get you started. Scripted deployments will help those who have multiple VCSA and PSC in their environment. This is also a good way to automate and stay consistent with your deployments.