NetApp Simulator Cluster Mode Getting Started Part 2
The first post in this series discussed how to deploy the NetApp Simulator in your vSphere environment. Now we will move forward with the configuration of the first node & cluster.
Booting the DataONTAP Simulator 1st Node
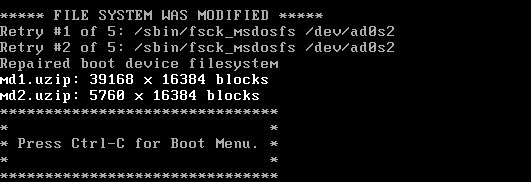
- Open the simulator vSphere client console, press Ctrl-C for the Boot Menu when displayed on the screen.
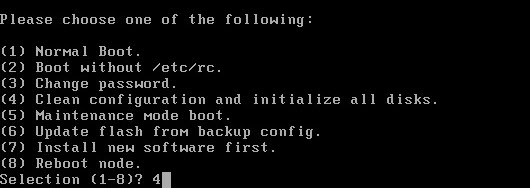
- Once the boot menu is loaded, select Opt 4 ” Clean configuration and initialize all disks.”
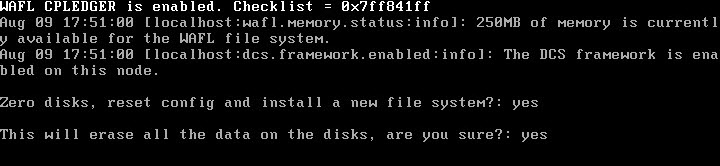
- At the zero disk, reset config and install a new file system prompt, type “yes” or “y” and press Enter. Confirm the selection and press enter.

- The simulator VM restarts and will continue the initialization process.


Do not interrupt this process as it might result in corruption of the simulator disks.
Creating the Cluster
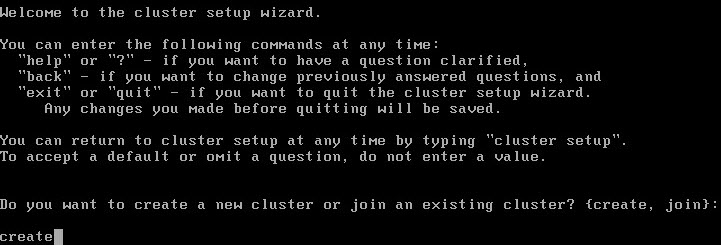
- At the “Welcome to the cluster setup wizard” screen you will be prompted to create or join a cluster. Since this is the first node in the cluster type create and press enter.
- When prompted “Do you intend for this node to be used as a single node cluster”, continue with the default no and press enter.

- Allow the cluster network to use network switches and press enter.

- When creating the cluster interfaces (e0a & e0b) you have the option of keeping the system defaults or changing the network defaults during the cluster configuration.

- Once the cluster interfaces are created, enter the name of your cluster & license key(s).

- Create a cluster admin password.

- Enter the required network information for the cluster management interface.

- Enter the required network information for the node management interface.

- Cluster creation is now complete.

- Management for the NetApp cluster or node(s) is now accessible via CLI or GUI (browser based) by downloading the OnCommand System Manager.

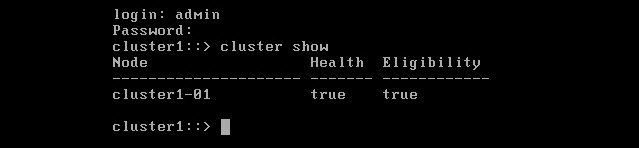
- To validate your cluster setup via CLI, log in and run “cluster show.”


Next steps include the configuration and addition of a secondary node to the cluster as well as provisioning of storage.